 by
by 
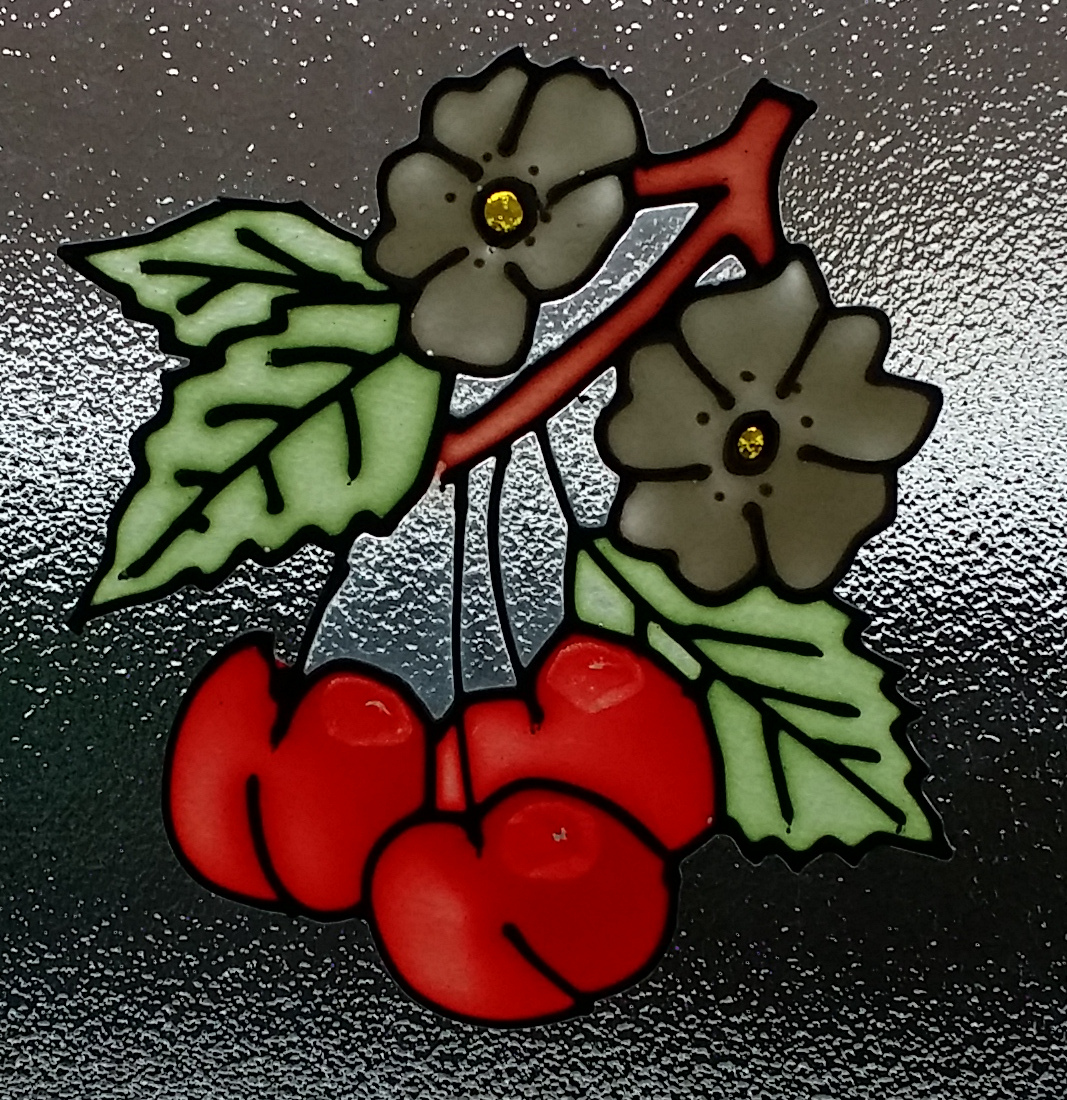
How to make your own peelable glass paint.
In this article we will show you how to make your own peelable glass paint. There are many advantages to making your own peelable paint. It’s cheaper, you can get exactly the colours you want, it can be the constancy you like and you can make it in bulk if you are working with groups.
I mostly use homemade glass paints now if I’m making window stickers and even water it down to use as a flowing paint (non-peelable) if I’m teaching etc. (I still prefer “proper solvent based flowing paints for normal glass painting on objects).

How to make your own peelable glass paint. What you will need.
To make the paint you will only need the following three ingredients.
- PVA Glue (The type that is white and dries clear. You will find it in most Supermarkets, DIY and craft shops, You can buy it in containers up to 5 ltrs although 1 ltr should keep you going fine for quite a while. ).
- Acrylic Paint (the type sold in large tubes for children’s painting. No need for the expensive artists stuff). I found the following seven colours have enabled me to make all the peelable paints I need: Black, White, Red, Yellow, Blue, Silver and Gold. Obviously you need to mix these to get your greens, orange, purple etc.
- Water.
In addition to this you will also need something to mix the paint in and keep it plus something to mix it will.
Technique.
Put some of the PVA glue in your container. How much you put in will depend on the size of your container and how much paint you want to make.
Next add your Acrylic paint. The paint serves no purpose other than to give the colour so just add enough to give the colour you want. The paint colours can be mixed at this point (e.g. use a bit of yellow and a bit of blue to get a green). Mix it well so you can see what colour you are going to end up with.
Then add a FEW drops of water. This is just to make the paint a little less thick and easier to work with. You don’t want to add too much or your finished peelie will tear so add as little as you thing you can get away with whilst still making the paint usable.
Finally give it another good stir and then put the top on and give it a shake. Once you have done that you will need to leave it standing for a few hours (with the top on!) to let any bubbles come out.

Points to note.
It’s always useful to make a clear paint so you can use it to fill in gaps in your peelie. Make sure you mark the clear and/or white paints so you can tell them apart.
If your paint thickens up over time you can always add a few more drops of water.
We have tried using other things for colouring the paint. Food colouring gives a fantastic effect, unfortunately the colour fade within a matter of days. Printer ink seemed possible but there are very limited colours available (no white) and it is very expensive, you might as well buy glass paints for the price!
If you haven’t used peelable glass paints before you will find instructions, hints and tips in our article: Making Window Stickers with Glass Paint.

We hope you enjoy both making and using Peelable Glass Paints. They are a great technique to use in glass painting. Don’t forget your finished Peelie doesn’t have to go on a window, you can also put it on a mirror, vase, tile or any other non-porous surface.
Happy Crafting.


Fantastic – must try window stickers! Thamks
Well I hope you enjoy it. It really is a great hobby which enables you to make lots of different things. We will be doing an article “taking it to the next level” shortly.
Excellent tutorial! Thanks LisianthusFairy
You are welcome.
Hi! My peelies were a little too opaque and mottled (see photo). What do you recommend I try to brighten them up, and even out their opacity?
Thanks so much for generously sharing your knowledge on this site. This project brought me a lot of joy and pride, and I so appreciate your work on this site!