 by
by 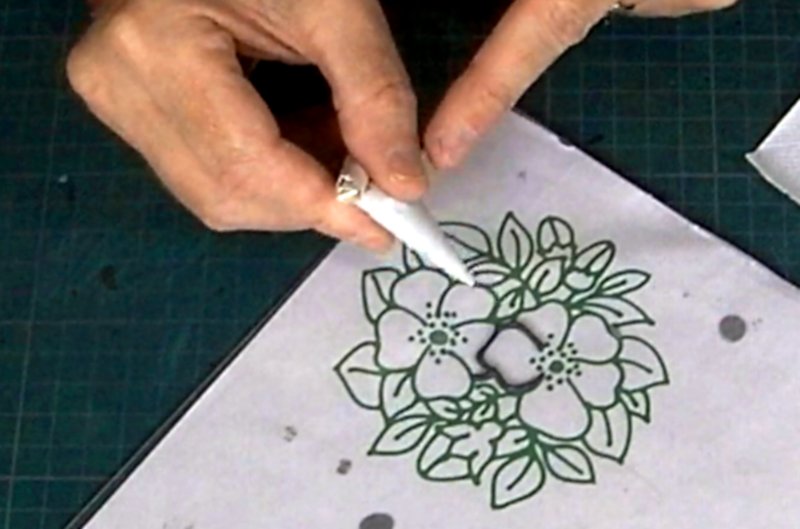
In this article/video we are looking as some more advanced outlining. It’s a bit of a mix of tips and techniques but hopefully everyone will get something out of it.
Outlining is consistently the part of glass painting which most people seem to have difficulty with and I will include myself in that number. In the end, whilst articles and videos will help you to develop a technique, it is only practice which will help you to hone your skills.
This video assumes you have watched the first video on outlining. If you haven’t then you will find it HERE.
Anyway I hope you enjoy the video. Below I will list some of the main points covered which will hopefully serve as a reminder in future.
Lesson 7. Advanced Outlining.

Advanced Outlining for Glass Painters.
- The best outlining is done from a piping bag (IMHO). It gives you the best control and a variable thickness nib. If you have to use a bottle (2nd best), or tube (least best), then the same basic principles apply. (“Touch, lift and pull”, covered in the first video.).
- Don’t worry how much outliner you put in the bag. Any remainder can be returned to the bottle.
- When rolling up the piping bag ensure the join line is underneath. When you roll up the open end of the bag the seem will then tighten up. (If you do it the other way round then you will losen the seem and the lead will come out).
- Ensure it is a roll NOT a fold. The roll will enable you to continuously tighten the bag. If you fold it you will only be able to tighten it sporadically.
- Try to get the whole piece outlined in one go. Working with wet outliner means the joins will blend into one another.
- You will want to drop the line back down to the glass so you can stop, move the work and then pick it up again. Try and do this where there is either an end of a line anyway or where two or more lines meet. This will keep the longer sections “clean”.
- There may be times when you don’t want two lines to blend and would rather have a slight bump where one crosses another. The easy way to achieve this is to pipe the underneath line, wait for it to dry and then do the one on top. (or you could use the method described below).
- Although in general we aim for the lines to be straight/smooth there may be times when you want to have lumps, bumps and other extra bits. As with cake decorating a bit of practice will enable you to add these in a purposeful way.
Corrections.
The normal method for doing corrections is to wait for the outliner to dry. Cut out the error and then re-pipe the bit in.
It is possible to do very small corrections whist the outlininer is still semi-wet. You can nudge one bit of outliner into another using a craft knife or such like. In the same way, at this stage, you can add a small bit of outliner to a gap or bit of thin line. (If you try and it doesn’t work then go back to the first method!).

Outliner Strips Method.
I will be very honest with you. Although a couple of people have talked to me about this method of outlining I’ve never tried it before. Not only that but I am finding it hard to find in what situation it would be useful. Having said that is it a very simple method so there is no harm in sharing it and letting you decide if you think it would be useful for you.
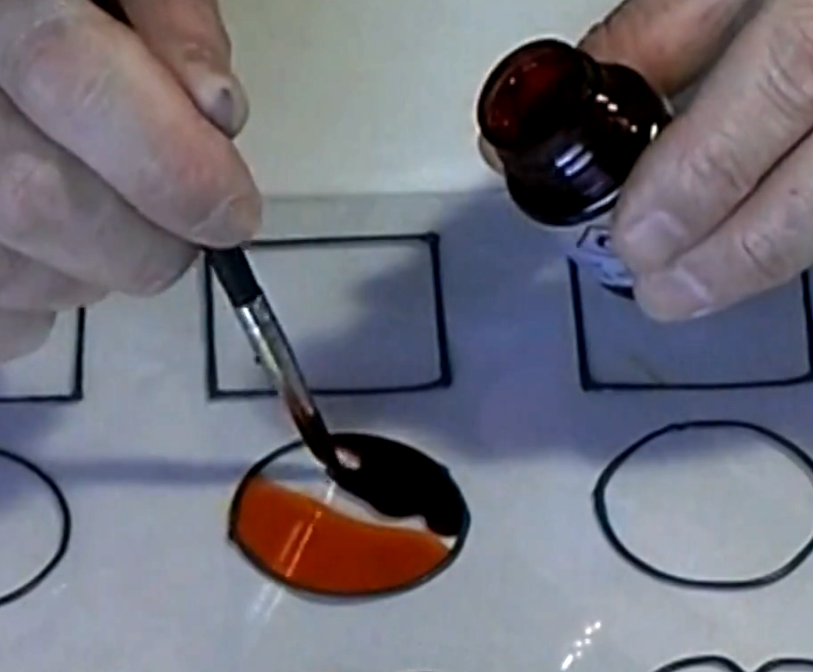
Basically you pipe some long straight lines of peelable outliner on glass or a plastic sheet. You leave it to dry and then you can peel it off and use it as you would real adhesive lead. Lay it down on your “piece” following your design, cutting ends when you need to.
As I said it’s pretty simple but also pretty fiddly.
Summery.
The outlining is perhaps the most important part of glass painting to get right. If the outlining is good then the painting should be fairly easy to do. If the outlining is “bad” then it won’t matter how well you paint it, it will still look “wrong”. It really is worth taking the time to both practice and, when you get on to doing proper pieces, correcting any mistakes.

TWO THUMBS UP !! THANKS.
Invaluable advice – may you be blessed for sharing your knowledge!
You are welcome.