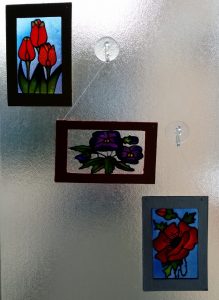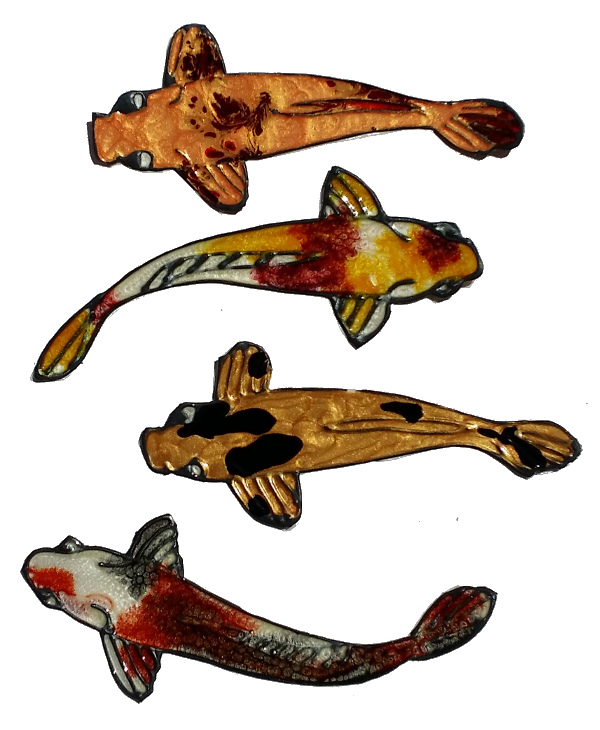
Well we thought it was time for our first glass painting project in this online course. We’ve obviously chosen something quite simple, which uses the skills from the first two lessons and doesn’t require too much in the way of equipment. We hope you like the end result.
This project includes 3 designs which we have made available for download. Of course you can use your own design if you prefer although we do recommend starting with one of ours if you are completely new to glass painting. If you use your own design we suggest you keep it quite simple to start with. Cartoon characters, badges and emblems all make good designs.
First Glass Painting Project.
Materials and Equipment.
- Outliner.
- Flowing Glass Paints (can be either solvent or waterbased).
- Paint Brush.
- Greaseproof / Parchment paper if required for outlining.
- Sheet of acetate.
- A design.
- Masking tape.
- Sheet of cardboard.
- Paints for cardboard is required.
- Craft Glue (suitable for cardboard).
- Cotton for hanging.
Instructions.
- Place the sheet of acetate over the design and tape it down. It can make life a little easier if you do this onto a moveable board as you can then move it somewhere to dry.
- Outline the design and then leave to dry. (see Lesson 1).
- Once dry (at least a few hours but preferably a day) you can paint it using the flood fill technique (see lesson 2).
- Whist the outliner/paint is drying you can make a frame using the cardboard. Cut out two frames from your sheet of cardboard and then paint/decorate as required.
- Cut out your work making sure it is larger than the inside of the frame.
- Place it on the back of one side of the frame with the front of the work pointing down. Ensure you have it exactly as you want it and then use a couple of small pieces of tape to hold it in place.
- Brush the back of the frame with the craft glue and then place the 2nd part of the frame on top (sandwiching the acetate between).
- It is best to put some weight on the frame whilst it dries so it will end up flat. As you don’t want to damage your work so I have found the best solution is to put a ring of my paint pots on the frame and then put a couple of large books on top of them.
- Once the frame is dry puncture two holes in the top with a sowing needle. Then use the cotton to make a hanger/loop.
As normal it is much easier to show how to make this in the video than explain it in writing. Having said that the video is quite short as it assumes you have already watched the other lessons.
We hope you enjoy this first glass painting project. Once you have used one of our designs maybe you would like to try one of your own. That way you can relate it to something you like: dogs, butterflies, Christmas Themes Cartoon Characters etc. The choice is endless.


THANKS !