by
by 
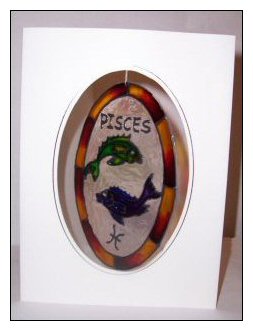
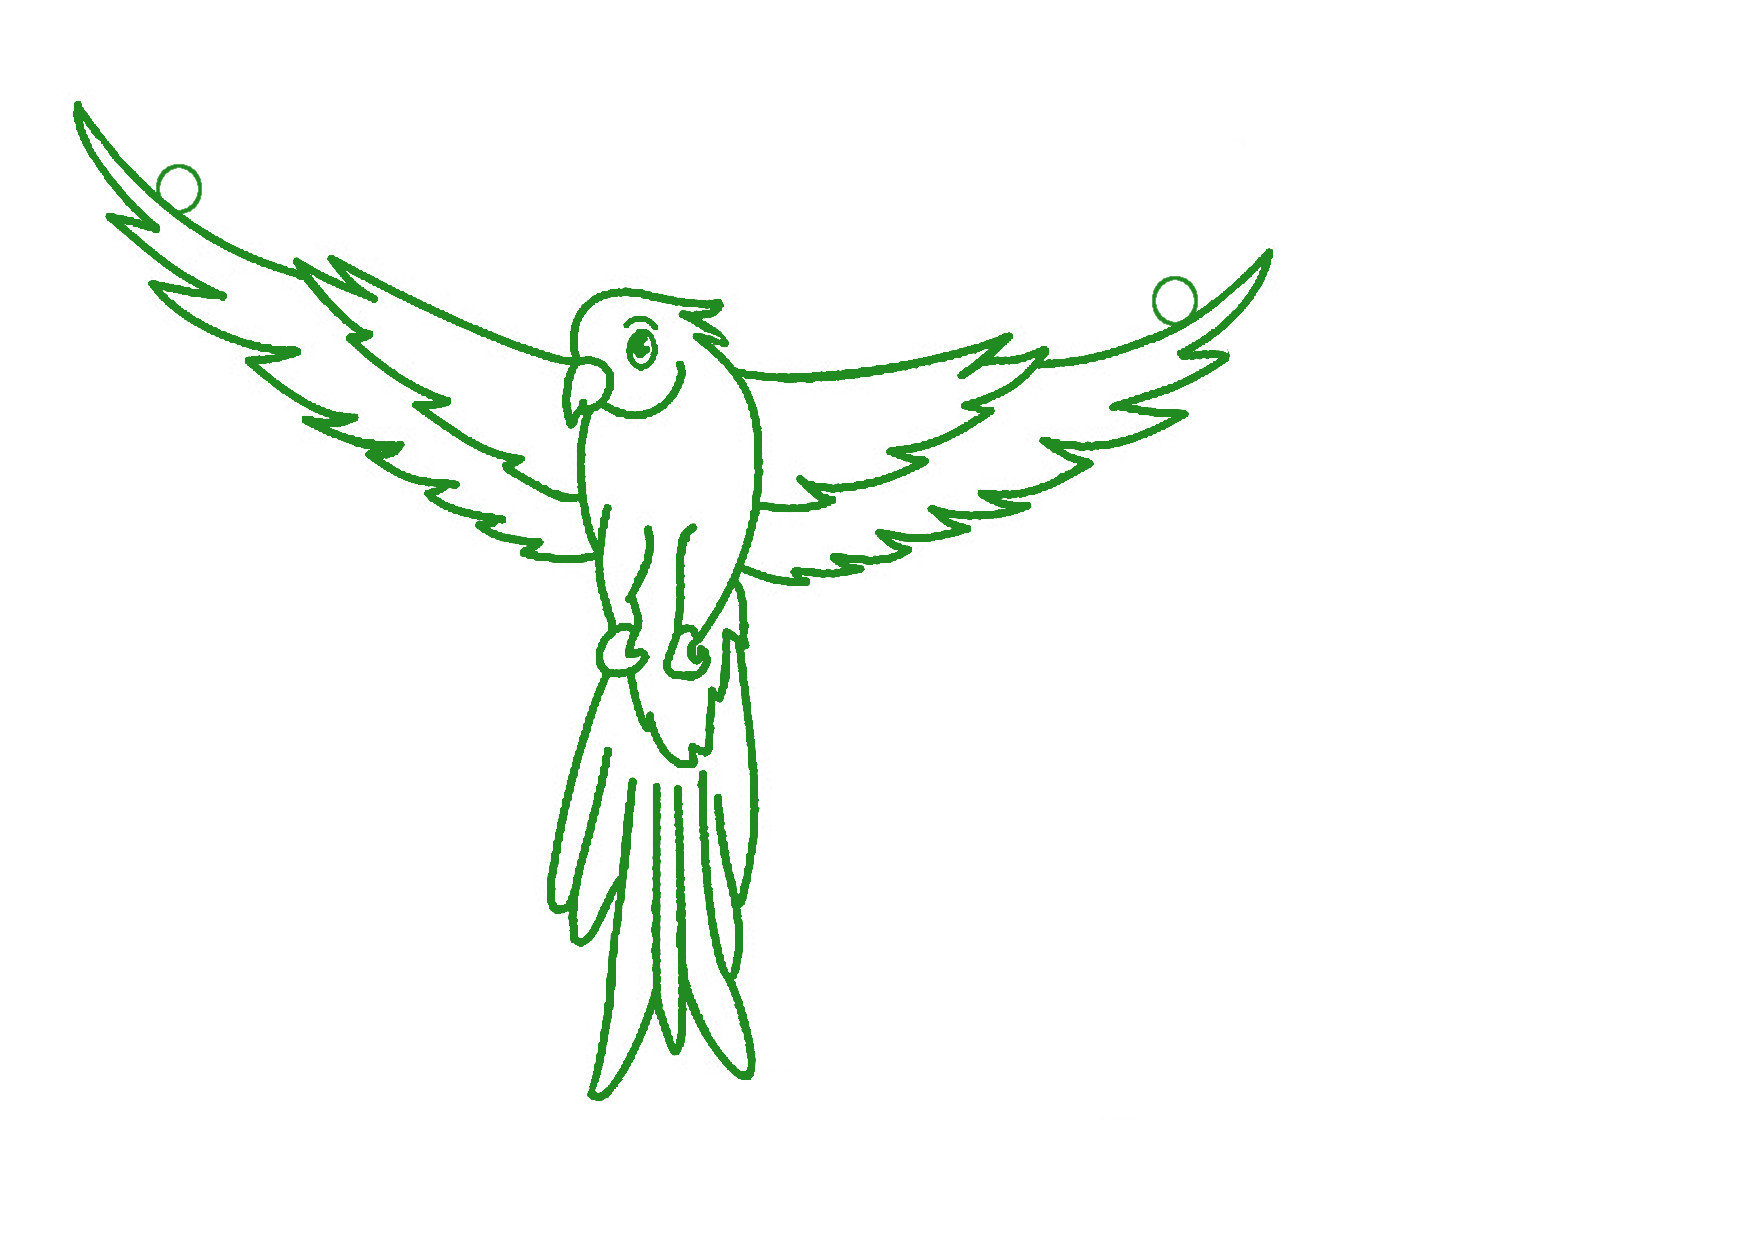
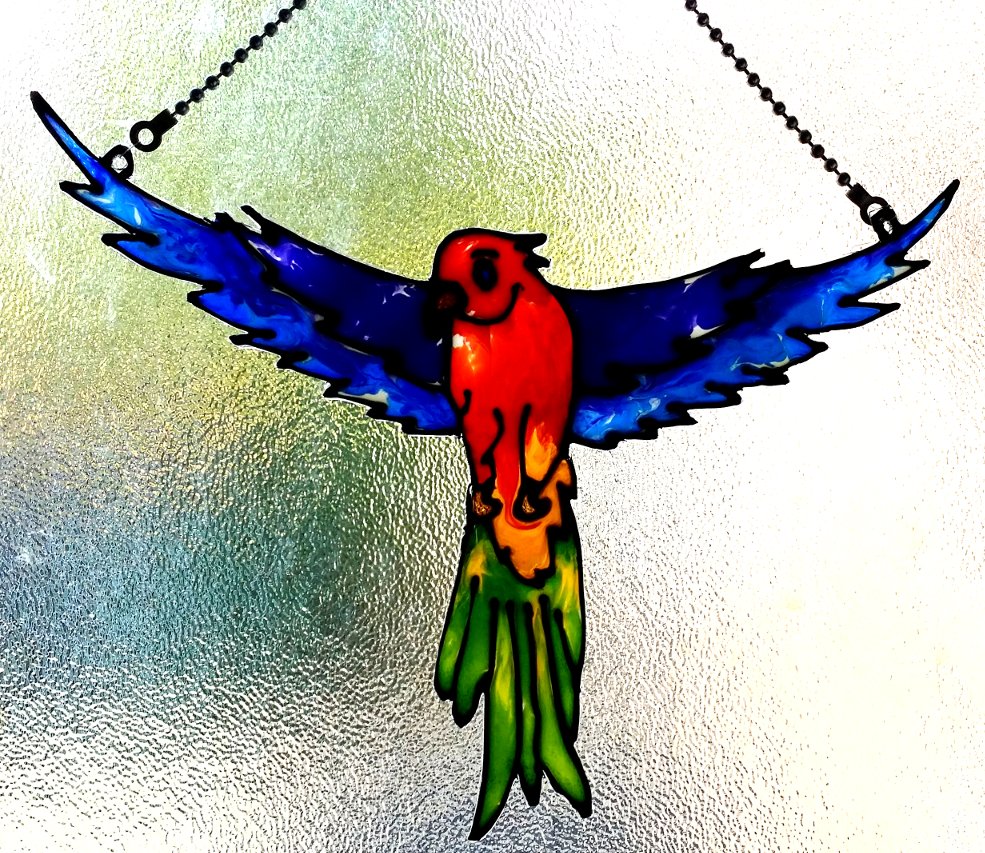
This style of shaped sun catchers is very popular. We’ve concentrated on birds which seem to suit windows but you can really make any shape you wish. Cartoon
character look pretty good as well.
Whilst this is mainly a project to show you how to make an item I’ve also taken the opportunity to demonstrate a slightly different style of glass painting. Often our pieces are made to resemble transparent coloured stained glass. There is however another type of stained glass, a semi-opaque multi coloured glass which is particularly popular in more modern pieces. You’ll find more about this below.
Shaped Sun Catchers.
Materials and Equipment.
The most important thing when making these sun catchers is the material you work on. We used our own Thick Glass Painting film which, is you are in the UK, you can buy off our site. However there are alternatives around. You will need something which is strong enough to hold it’s shape but easy to cut. Obviously you also don’t want it to react with your paint. Before buying something why not have a look and see what you have around the house. Maybe some plastic packaging or an old plastic box. Whatever you find please do test your paint on it first before you start the main piece.
In addition to that you will need:
- Flowing Paints, waterbased or solvent.
- Outliner.
- Your Design. (you will find our designs in the DESIGN SECTION if you wish to use them).
- Blu-tack.
- Paint Brush.
- Scissors.
- Craft Knife.
- Candle and Needle to make holes.
- Chain / Fishing Wire / Cotton for hanging. (Yes, I really did nick two plug chains from our sinks 😀 )
Shaped Sun Catchers. Technique.
- Apart for the style of painting we used this is all very straight forward:
- Ensure your working surface is clean.
- Place the design underneath and blu-tack together to stop your design from moving.
- Outline and leave to dry.
- Paint you piece one “colour” at a time leaving each to go tacky dry before you start on the next. (You can do this in the normal transparent flood fill style if you wish but we tried something slightly different which you will read about below).
- Once the paint is dry cut the piece out.
- Melt a hole in each of the “hangers” and use these to sting your chain / fishing wire / cotton to.
The style of glass painting we used.
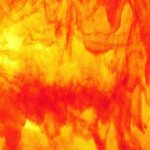
The vast majority of the time we glass paint we use the standard transparent paint blending at times. Other times we used the pearl(ish) colours. If however, you look at stained glass you will find that a lot isn’t in fact transparent. Instead it is a semi-opaque blend of colour. Have a look at these examples below. Each is a piece of real stained glass.


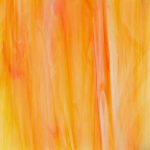
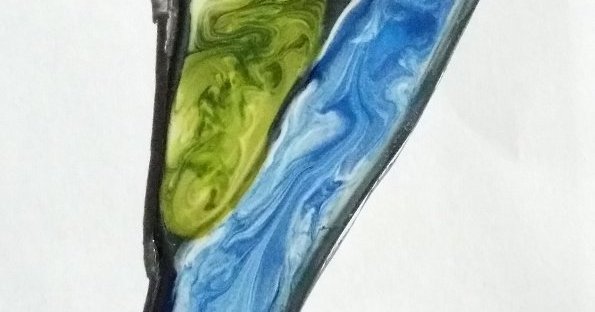
Now this is the look we have tried to recreate. This has been done by adding the transparent white to each area. Blending it on the piece with the colours we want in that area. In some areas we have blended it a lot so you get different shades of one or more colours. In other areas we haven’t blended it so much so it leaves white as one of the colours you see. (This can be seen best in the video). This is a technique we will play with more but so far I am quite pleased with the finished look.
I’d be interested to know what other people make of it.
Summery.
I like these finished pieces and I enjoyed trying a slightly different painting technique. As said about however, you can just use the normal transparent flood-fill technique if you wish and leave the white transparent out. Even in the piece with the 4 birds in there are some areas I just used a Pebep Prisme paint in to give it a pearlised look.