by
by 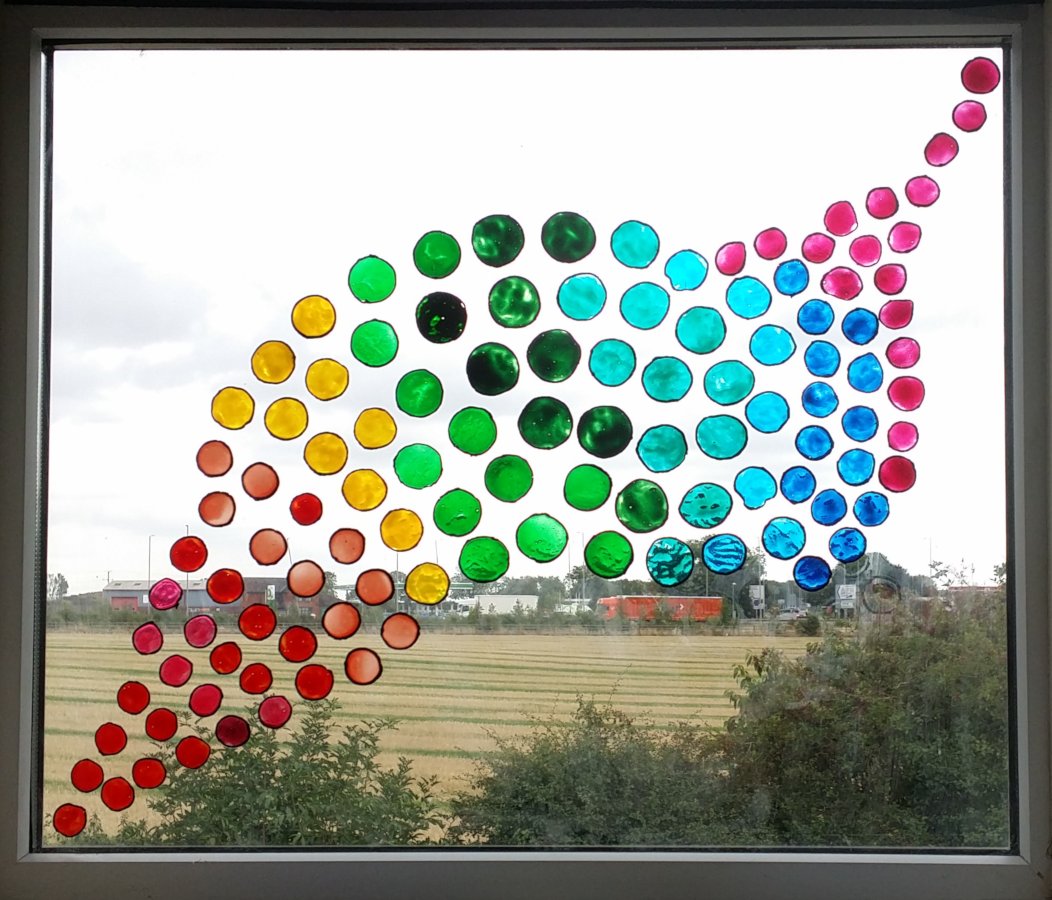
This peelable glass paint window pattern project is technically very simple but at the same time fairly easy to mess up. Like many glass painting projects a bit of forward planning should solve this. Having recently done this I recommend:
- Sorting your templates for the different sizes circles. Write on each size what colour they should be.
- Check you have enough paint of each colour. Make up any mixes you need as well as stirring any paints which haven’t been used for a while. Do this early as air bubbles take a lot longer to come out of these thicker paints.
- Make a couple of spares of each colour/size circle.
- Give the paints at least 2 days to dry before you peel them off the first time.
Much of this will seem obvious but it is quite easy to get a bit blasé about the preparation especially if you do a lot of glass painting.
Peelable Glass Paint Window Pattern.
[Please note, parts of this video are quite dark as I was filming it in front of a very bright window and didn’t have the lights to compensate.]
Materials.
- Peelable Outliner.
- Peelable Glass Paints. (Colours to suite).
- Paint Brush.
- Folder Pockets (or something else suitable for working on and then peeling the paint off).
- Strengthening boards.
- Your Circle Templates. (or download ours from the Free Designs/Projects section ).

Technique.
- The technique is actually quite simple.
- Put the template and strengthening board inside the folder pocket with the template showing on top.
- Outline the circles (This is a bit repetitive but good outlining practice.) and leave to dry.
- Paint the circles. With most peelable glass paint you can use it direct from the tube but you should still use a brush as well. With a brush you can ensure the paint is right up to the outliners, smooth the paint and lift out any air bubbles.
- Leave the paint to dry. How long this takes will depend on your room temperature and the thickness of the paint. I’d recommend leaving it at least two days as a minimum.
- Ensure the window is clean. Build up your design a circle at a time, peeling back off and positioning any you are unhappy with.
That is basically the complete project.
Summery.
You will notice in the video that I used lots of different types of Peelable Glass Paint: Pebeo, Gallery Glass, Berol, Gas Design and home made. I only did this as these were the paints I had around and I needed a wide range of colours. In retrospect sticking to one or two types would have given a more consistent look to the finished item.
Not only can you make your own design in this project, you can also change it when you wish. Have a different piece of art in your window or on your door every week!