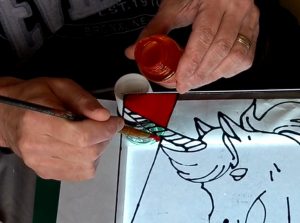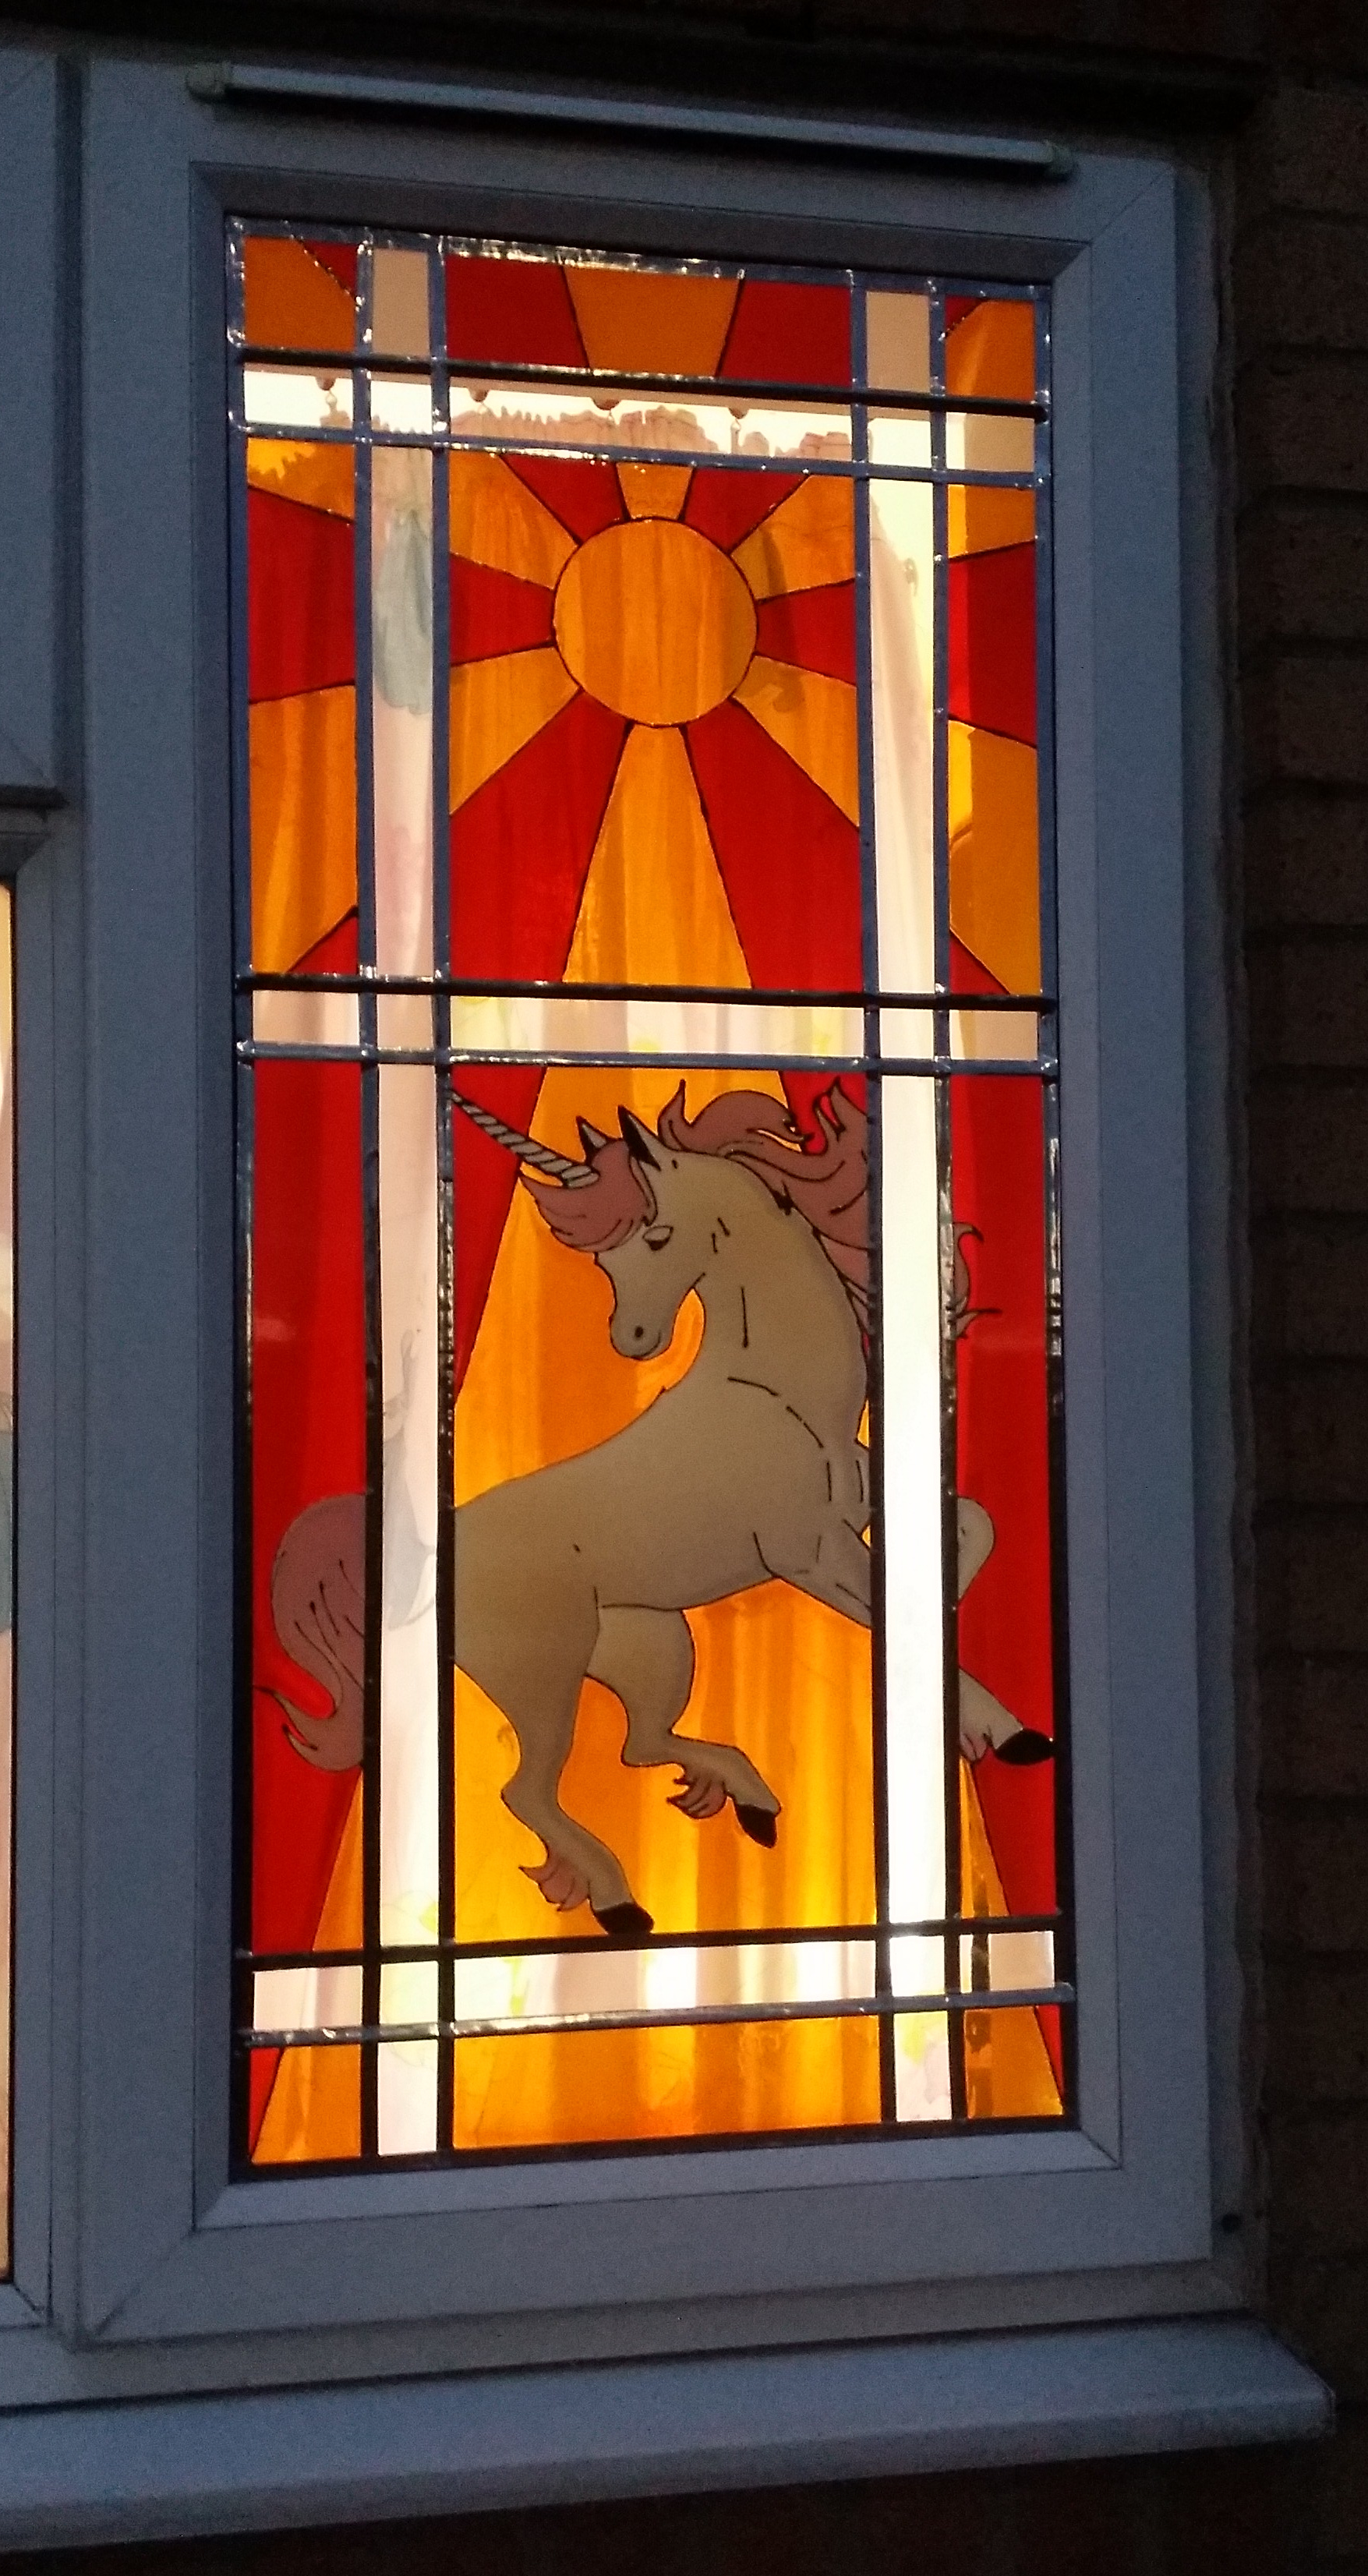
In this article we demonstrate making a faux stain glass window. This is a big project but don’t let that put you off. In some ways a big project is easier to do than a small one. Certainly the line work (piping) is a lot less fiddly. I have previously done two large projects like these (a door and a window) but they were both done on the inside of the property. This time I wanted to do it on the outside, a decision which determined the materials which I used and, in turn, the design itself.
The paint and outliner I chose to use is Pebeo Vitrea 160. Now they say after baking they say it is dishwasher proof. My assumption is, it it is dishwasher proof, it will also be weather proof. The next issue therefore is that I need to get this into the oven to bake it. That obviously means working directly on the window is out (there would also be a major issue working upright unless I could get the window out). So the only thing a could work on would be glass (plastic and film couldn’t be put in the oven.) and the maximum size would be the size of my domestic oven. As you will see below I split my design up into 6 seperate glass panels. Each will be fixed onto the window using adhesive lead strips.
Making A Faux Stained Glass Window. Project Video.
The Design.
I created the design in GIMP (a free graphics editor) on my computer. I wanted something which was Art-Deco(ish) but also something which would suit my daughters bedroom window. I also needed to be able to break the design up into segments for the oven. What I ended up with you will see below. The image on the left is the design whilst the one on the right shows the sections it will be made in.
Piping and Painting.

Piping and painting the 6 glass panels was actually quite straight forward but here are a few hints and tips:
- If you have piped and painted before please refer to our free online course. The first 3 parts should be enough.
- Before you start work clean the glass with warm soapy water and rinse it off.
- If you make an error in the piping, leave it to dry, cut it out and redo it.
- Leave the outliner to dry before you start painting.
- Before you start painting ensure the work is completely flat.
- If you are painting large areas ensure you have enough paint and time before you start. Always complete a section in one go.
- Remember you are flood filling rather than painting.
- Keep an eye out for bubbles and either pop them or lift them out as you go.
Making A Faux Stained Glass Window. Summery.
Although a project this size will seem daunting, if you take it a step and a time and plan well then you shouldn’t have an issue.
In part 2 of this project I will explain an error I did make and how I I managed to “get round” it!


