by
by 
This is a great project for both adults and children: Glass Painting using household items. I’ve geared it towards people who haven’t done any glass before although if you have, you may still pick up some tips in it.
The project makes window stickers using only items you will hopefully have around the house. If you haven’t already got them then they should be fairly easy to get hold of.
If you are doing this project with younger children then you may well want to do the outlining yourself and then, once it has dried, let them do the painting.
Glass Painting Using Household Items.
Materials and Equipment.

Flexible bathroom filler (White or clear).
PVA Glue (White Craft glue which dries clear).
Children’s paints. (Black White and the 3 primary colours will be enough).
Parchment paper/ Greaseproof paper (for making a small piping bag).
A clear clip folder wallet. (or similar clear plastic sheet).
Mixing pots. (or similar).
Paint Brush.
Scissors.
Your Design. (Childrens colouring pages normally give some good designs).
Technique.
Make Your Outliner.
The Outliner is made up from the Flexible filler and the just a small bit of the black paint. You will probably also need to add a few drops of water. You want the out liner stiff enough to hold it’s shape but smooth enough to pipe with. Only add a few drops of water at a time as you don’t want it to get too runny. (If you do add too much water by mistake you can try adding some more filler to thicken it up again)
Make your paints.
Make up each of the colours you need. The paint are make from the childrens paints mixed with the PVA glue. Use as little paint as you can get away with, remember they will darken a little bit as they dry. You can mix your primary colours. Start with the light colour each time. Mix that with the PVA and then add very small drops of the draker colour until you reach the shade you want.
Outline your work.

Place your design in the clear wallet. If you can it’s alway useful to put something else behind the design to keep it stiff, a book or some cardboard maybe. Tape the open end of the wallet down pulling out any wrinkles as you do.
Make up a small piping bag . (This is shown briefly in the video about but if you need more instructions you will find them in the rather old but useful video: https://youtu.be/Ksei85DSQSM ) .
Put your outliner in the piping bag and cut off the end to give the thickness of line you want. (Always under estimate how much you need to cut off. If the line isn’t thick enough you can always cut a little bit more off but if its too thick you can’t stick it back on again!)
Outline you work remembering to lift up from the surface and always pull the piping bag, never pushing it)
Leave to dry.
Paint Your Work.

This is the fun bit. Make sure your work is flat before you start, otherwise your paint will pool at one end.
- Remember you are FLOOD FILLING rather than brush paint. Get plenty of paint on and then add some more!
- Make sure you get right up to the edges, you don’t want any gaps.
- You don’t have to stick to one colour per area, you can blend paints in the same bit.
- Leave one area to go at least tacky dry if the bit next to it is a different colour.
- Use plenty of paint!
Leave to dry, preferably overnight. How long it take to dry will depend on room temperature but it should be obvious when it has happened. Always too leave it a bit too long rather than not long enough.

Peel the work.
Once dried the piece should just peel off the plastic. This may be slightly difficult the first time depending on the plastic you have use. Whilst peeling it off (and at any other time) make sure it doesn’t fold back on itself. If that happens you may not get it apart again.
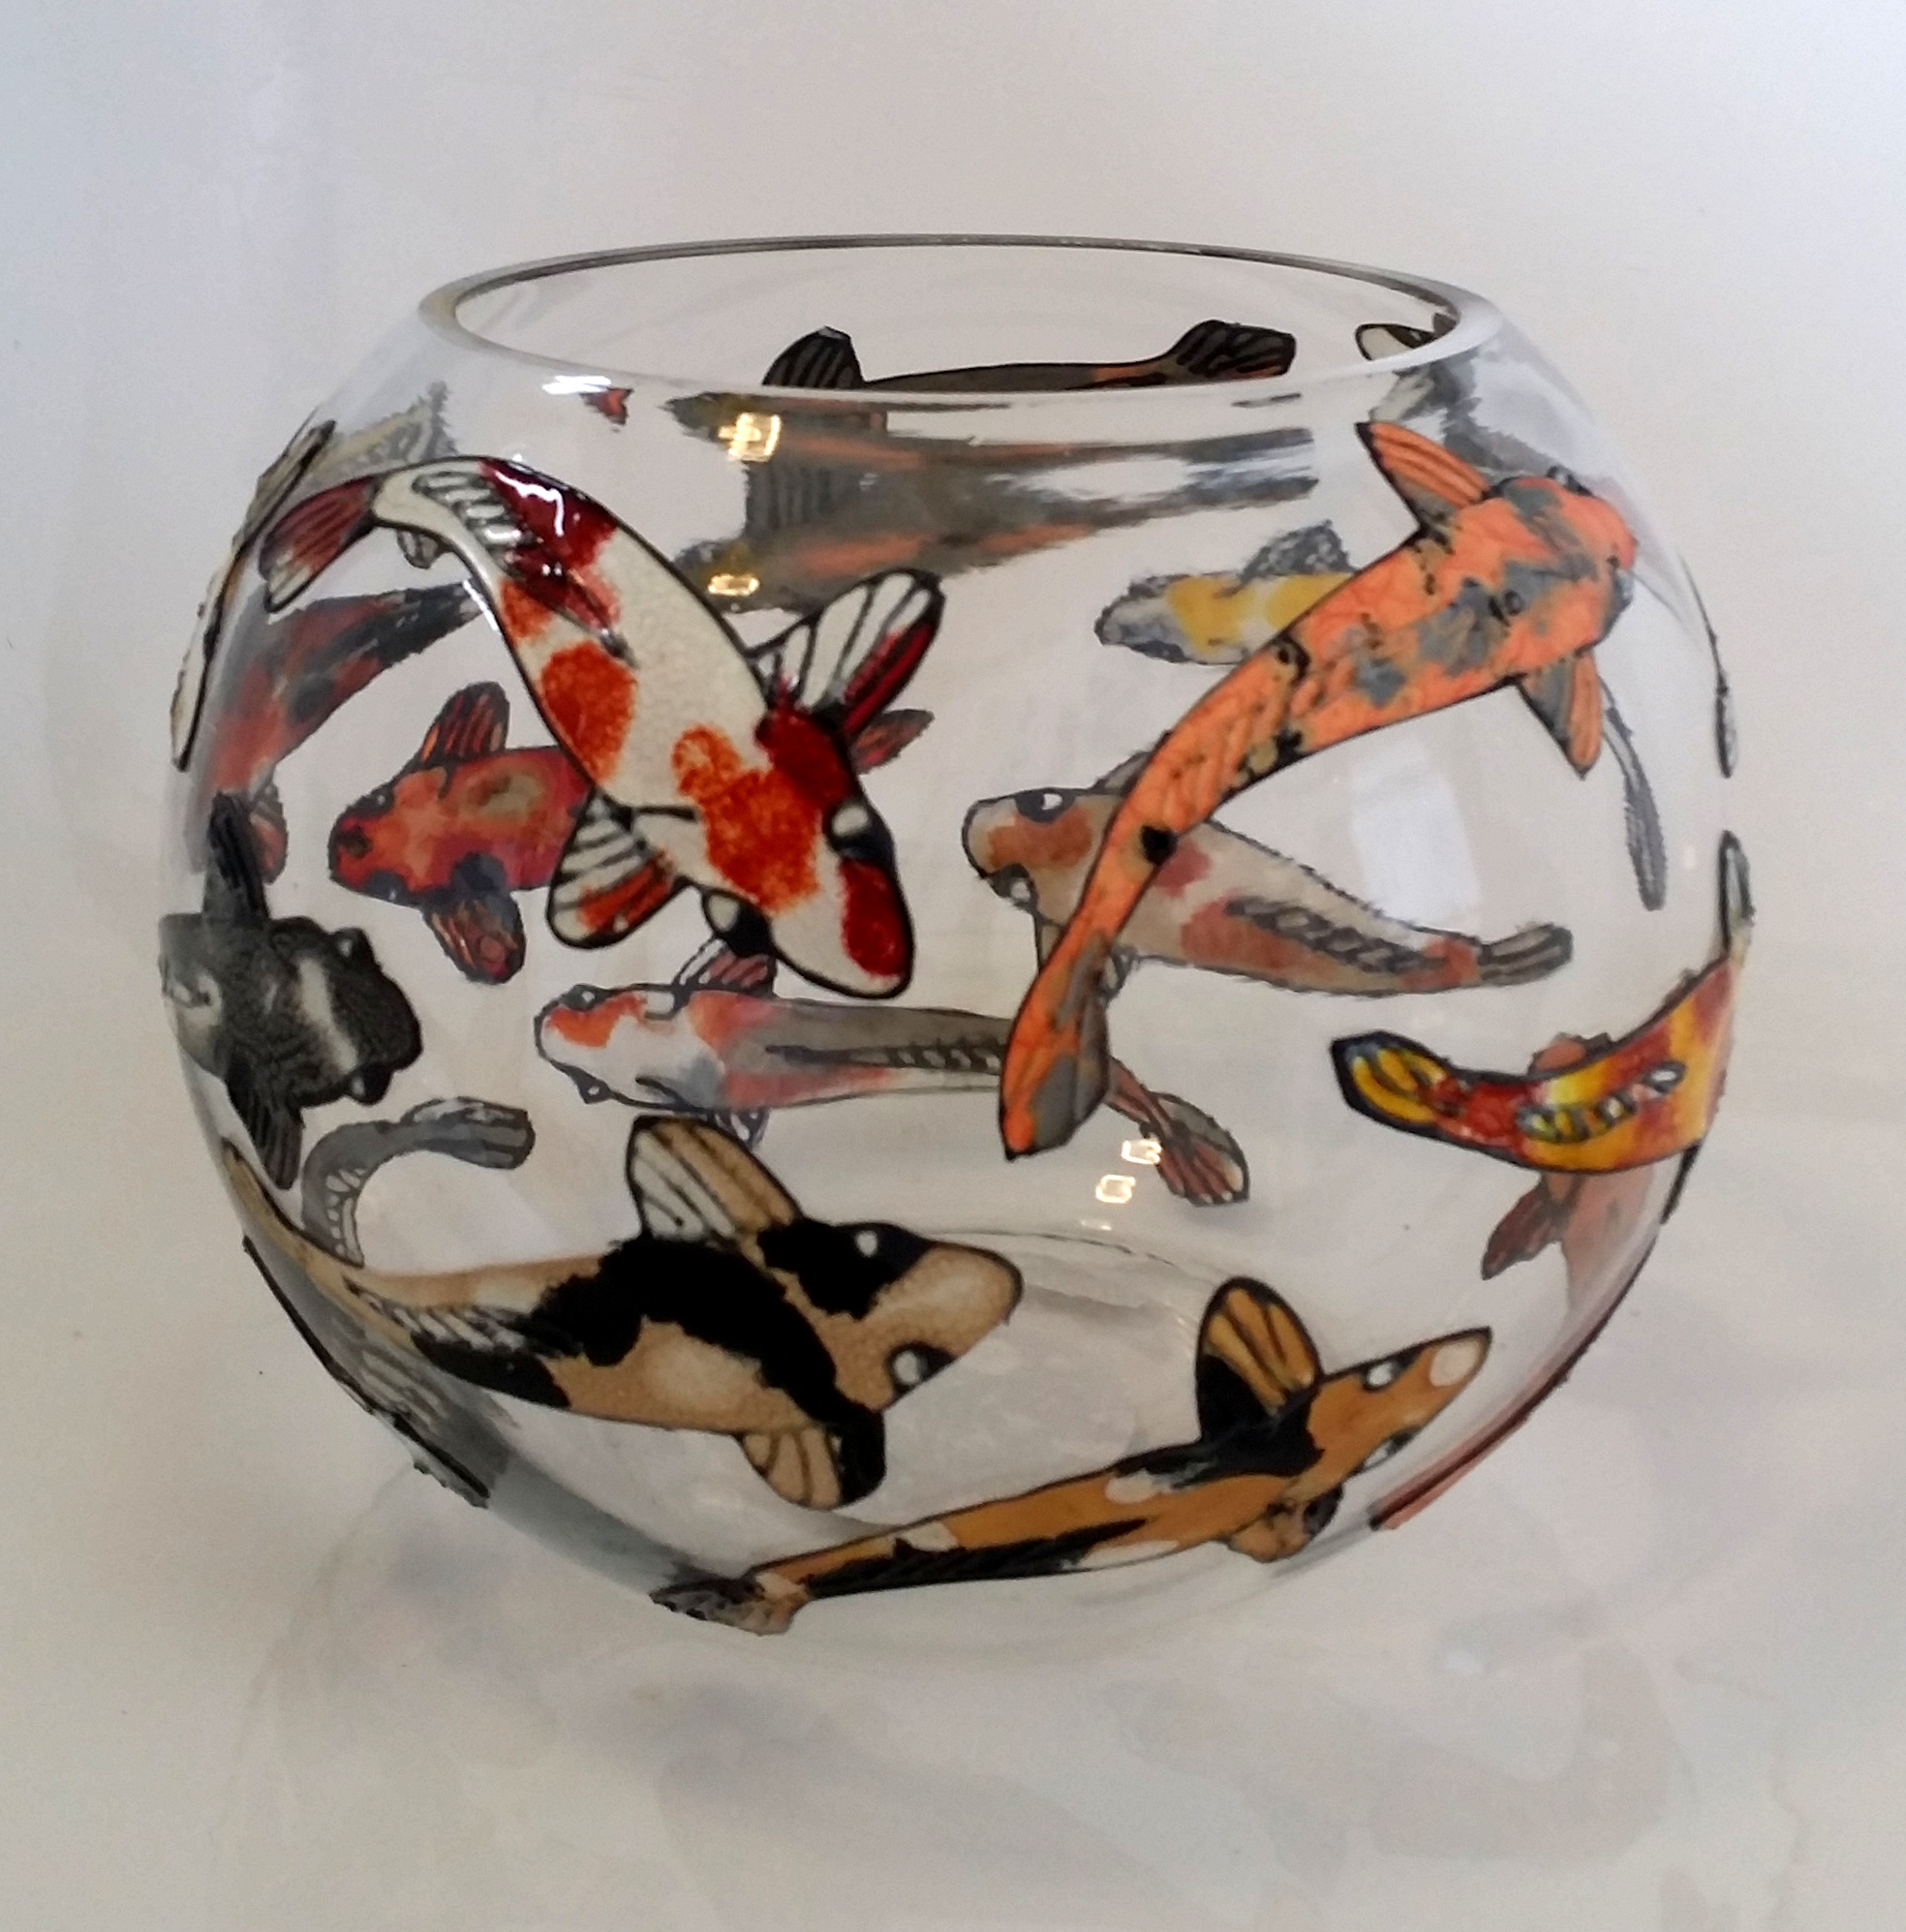
You can now place it on a window, mirror, vase, tile or on any other non-porous surface.
WARNING: If you leave it too long in one place (weeks/months) then you may have difficulty getting it off again. e.g. you will probably get it off but you may well destroy the piece in doing so.
Glass Painting Using Household Items. Summery.
This is a great project for just about every one. For children you can keep the designs simple and/or outline them yourself. Once you have tried it a couple of time you should be able to move onto more complicated designs. It’s a great way to do something creative and crafty without spending a lot of money.