by
by 
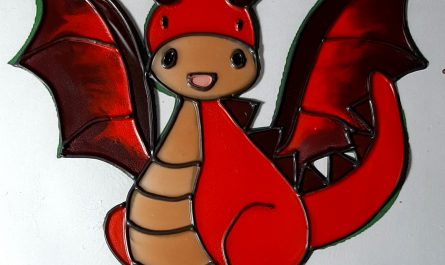
A very simple project on how to make Glass Painted Christmas decorations. This projects can be used to make Christmas Tree Decorations, window decorations and even hanging decorations. They are all made the same way but you may want to vary the size slightly. The Christmas tree decorations will need to be quite small whereas the hanging ones will need to be lager if they are to make an impact. The window decorations can vary according to the size of the space available. This is really basic glass painting and therefore great for beginners (although you would need to be particular about the design you choose).
Once again we have used our thick film in this project. This can be replace with a different plastic sheeting. It need to be cutable with scissors and of course you need to ensure it doesn’t react to your paints.

Materials and Equipment needed:
- Sheets of Thick Film (if not thick film then a substitute as mentioned above). The number of sheets you require will depend on the number and size of decorations you wish to make.
- Outliner.
- Glass Paints. We used both solvent based paints and flowing (home made) waterbased paints.
- String / Cotton / Fishing Line for hanging.
- Paint Brush.
- Scissors.
- Needle.
- Candle.
- Your Design(s).

Glass Painted Christmas Decorations. Technique.
As I said before this is very basic/classic glass painting, although we obviously aren’t using glass.
- If using our film remove the white protective sheet. Leave the clear sheet on what will now be the back.
- Bluetac your design onto the back.
- Outline your design and leave to dry.
- Paint one colour at a time. Normally you would start with the darker colours and work your way up to the lighter ones. Leave to dry.
- Cut our your decoration. There is no need to cut holes in the middle of your work. If there is a clear patch then just leave “as is”. The film is clear itself so it will still look correct.
- Decide where you want to thread the hanger loop.
- Heat up the needle (carefully) and then push it through where you want the loop.
- Use the string/Cotton/Fishing line to make the loop for hanging.
Summery.
Using this technique you can make a whole range of Christmas decorations which you can put away at the end of the festive season and bring out again next year. All the designs you see here, plus a few more, can be downloaded from our designs section. We have included blank templates for both baubles and stars so you can make up your own designs.