 by
by 
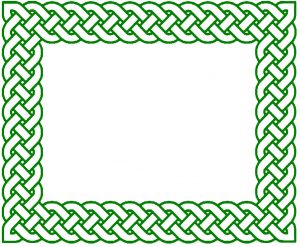
I rather enjoyed making this Celtic picture frame. Yet again you don’t have to follow our design you can crate your own but the technique will be the same.
If you do use our design then I think it only fair to tell you that I would do it slightly differently if I were to do it again. For one the I would give more of a border around the knots (the bit which I paint gold). Where it is very close to the adhesive lead it created lots of very small areas., you can see this particulaly at the top and on the inside of the design. I’d much rather of had an unbroken run of background along both the top and the inside (much as it is on the bottom and the two outside sides).
I think I’d like to try a lighter colour for the knots. Red is fine but there isn’t always a clear distinction between that and the black outlining. Next time I will try something like yellow for the knots and maybe changed the background to a semi-opaque red. The other thing I could do, if I wanted to keep the knots red is use a gold or silver outliner!
Glass Painted Celtic Picture Frame.
Celtic Picture Frame: Materials and tools.
 Celtic Picture Frame Design.Clip Style Picture frame (the one we used is 28cm x 35cm).
- Parchment paper for outlining bag (if needed).
- Outliner (colour choice is yours)
- Glass Paints (again you can choose the colours, the paint type etc. but we do recommend using a flowing paint).
- 3mm and 6mm adhesive lead (optional as you can outline the edges with outliner as well if you prefer).
- Blue Tack.
- The design printed off full size.
- Clear double-sided sticky tape.
- Single sided sticky tape (masking tape or clear).
- Metallic Board (We used silver but there is no reason you can try other colours).
- Scissors.
- Craft Knife.
- Ruler.
- Cutting mat (if you want to spare the table top).
- Spirit Level.
- Paint Brush (In fact I used two of different sizes).

Celtic Picture Frame: Materials and tools. Technique.
- Take apart the picture frame and clear with warm soppy water ensuring you rinse it off at the end. Leave to dry.
- Blue Tack the design onto the back of the glass ensuing it is centred correctly. (You will notice in the video that my design is slightly closer to the top than the bottm. A picture framer told me this is the best way to do it but I am yet to be convinced!).
- Outline the design using the liquid outliner and then leave it to dry. If you make any mistakes you can cut them out once it has dried and then touch it up again. We suggest doing this AFTER you have added the adhesive lead, just in case you mess it up again whist doing that.).
-
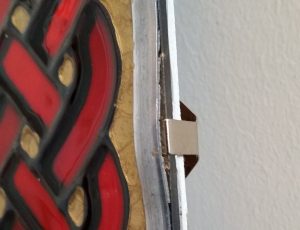
Clip going underneath the Adhesive Lead. Add the adhesive lead. We used 6mm around the outside sides and then 3mm for the rest but you can change this if you want. Whilst doing this we added single sided stick tape to the four places where the clips go onto the frame. This ensured that the lead wouldn’t stick down at these point and the clips could be slotted underneath when the frame was put back together at the end.
- Now for the painting. I started with the knot following one thread around the frame. This give these sections time to go tacky dry before I painted the section next to it. Once the knot had dried I did the background, switching to a smaller paint brush. You will have some long “runs” of paint such as the very bottom. It is important to do these in one go, starting on one side and working your way to the other. This ensure no paint dries before you added the bit next to it (which would produce a ridge).
- Once all of this is completely dry you can turn it over. (I placed it on four paint pots so I wasn’t putting any pressure on the work).
- Cut out four strips of the metallic board the correct size and stick it on using small stips of the double sided clear tape. This board will give a reflective backing to you glass paint (rather like working on a mirror and will also act as a mount for your picture.
- Finally we have to put the whole thing together again not forgetting to add your picture. I did need to use my craft knife to open up the 4 places where the clips needed to do under the lead. Little bits of paint had seeped under.

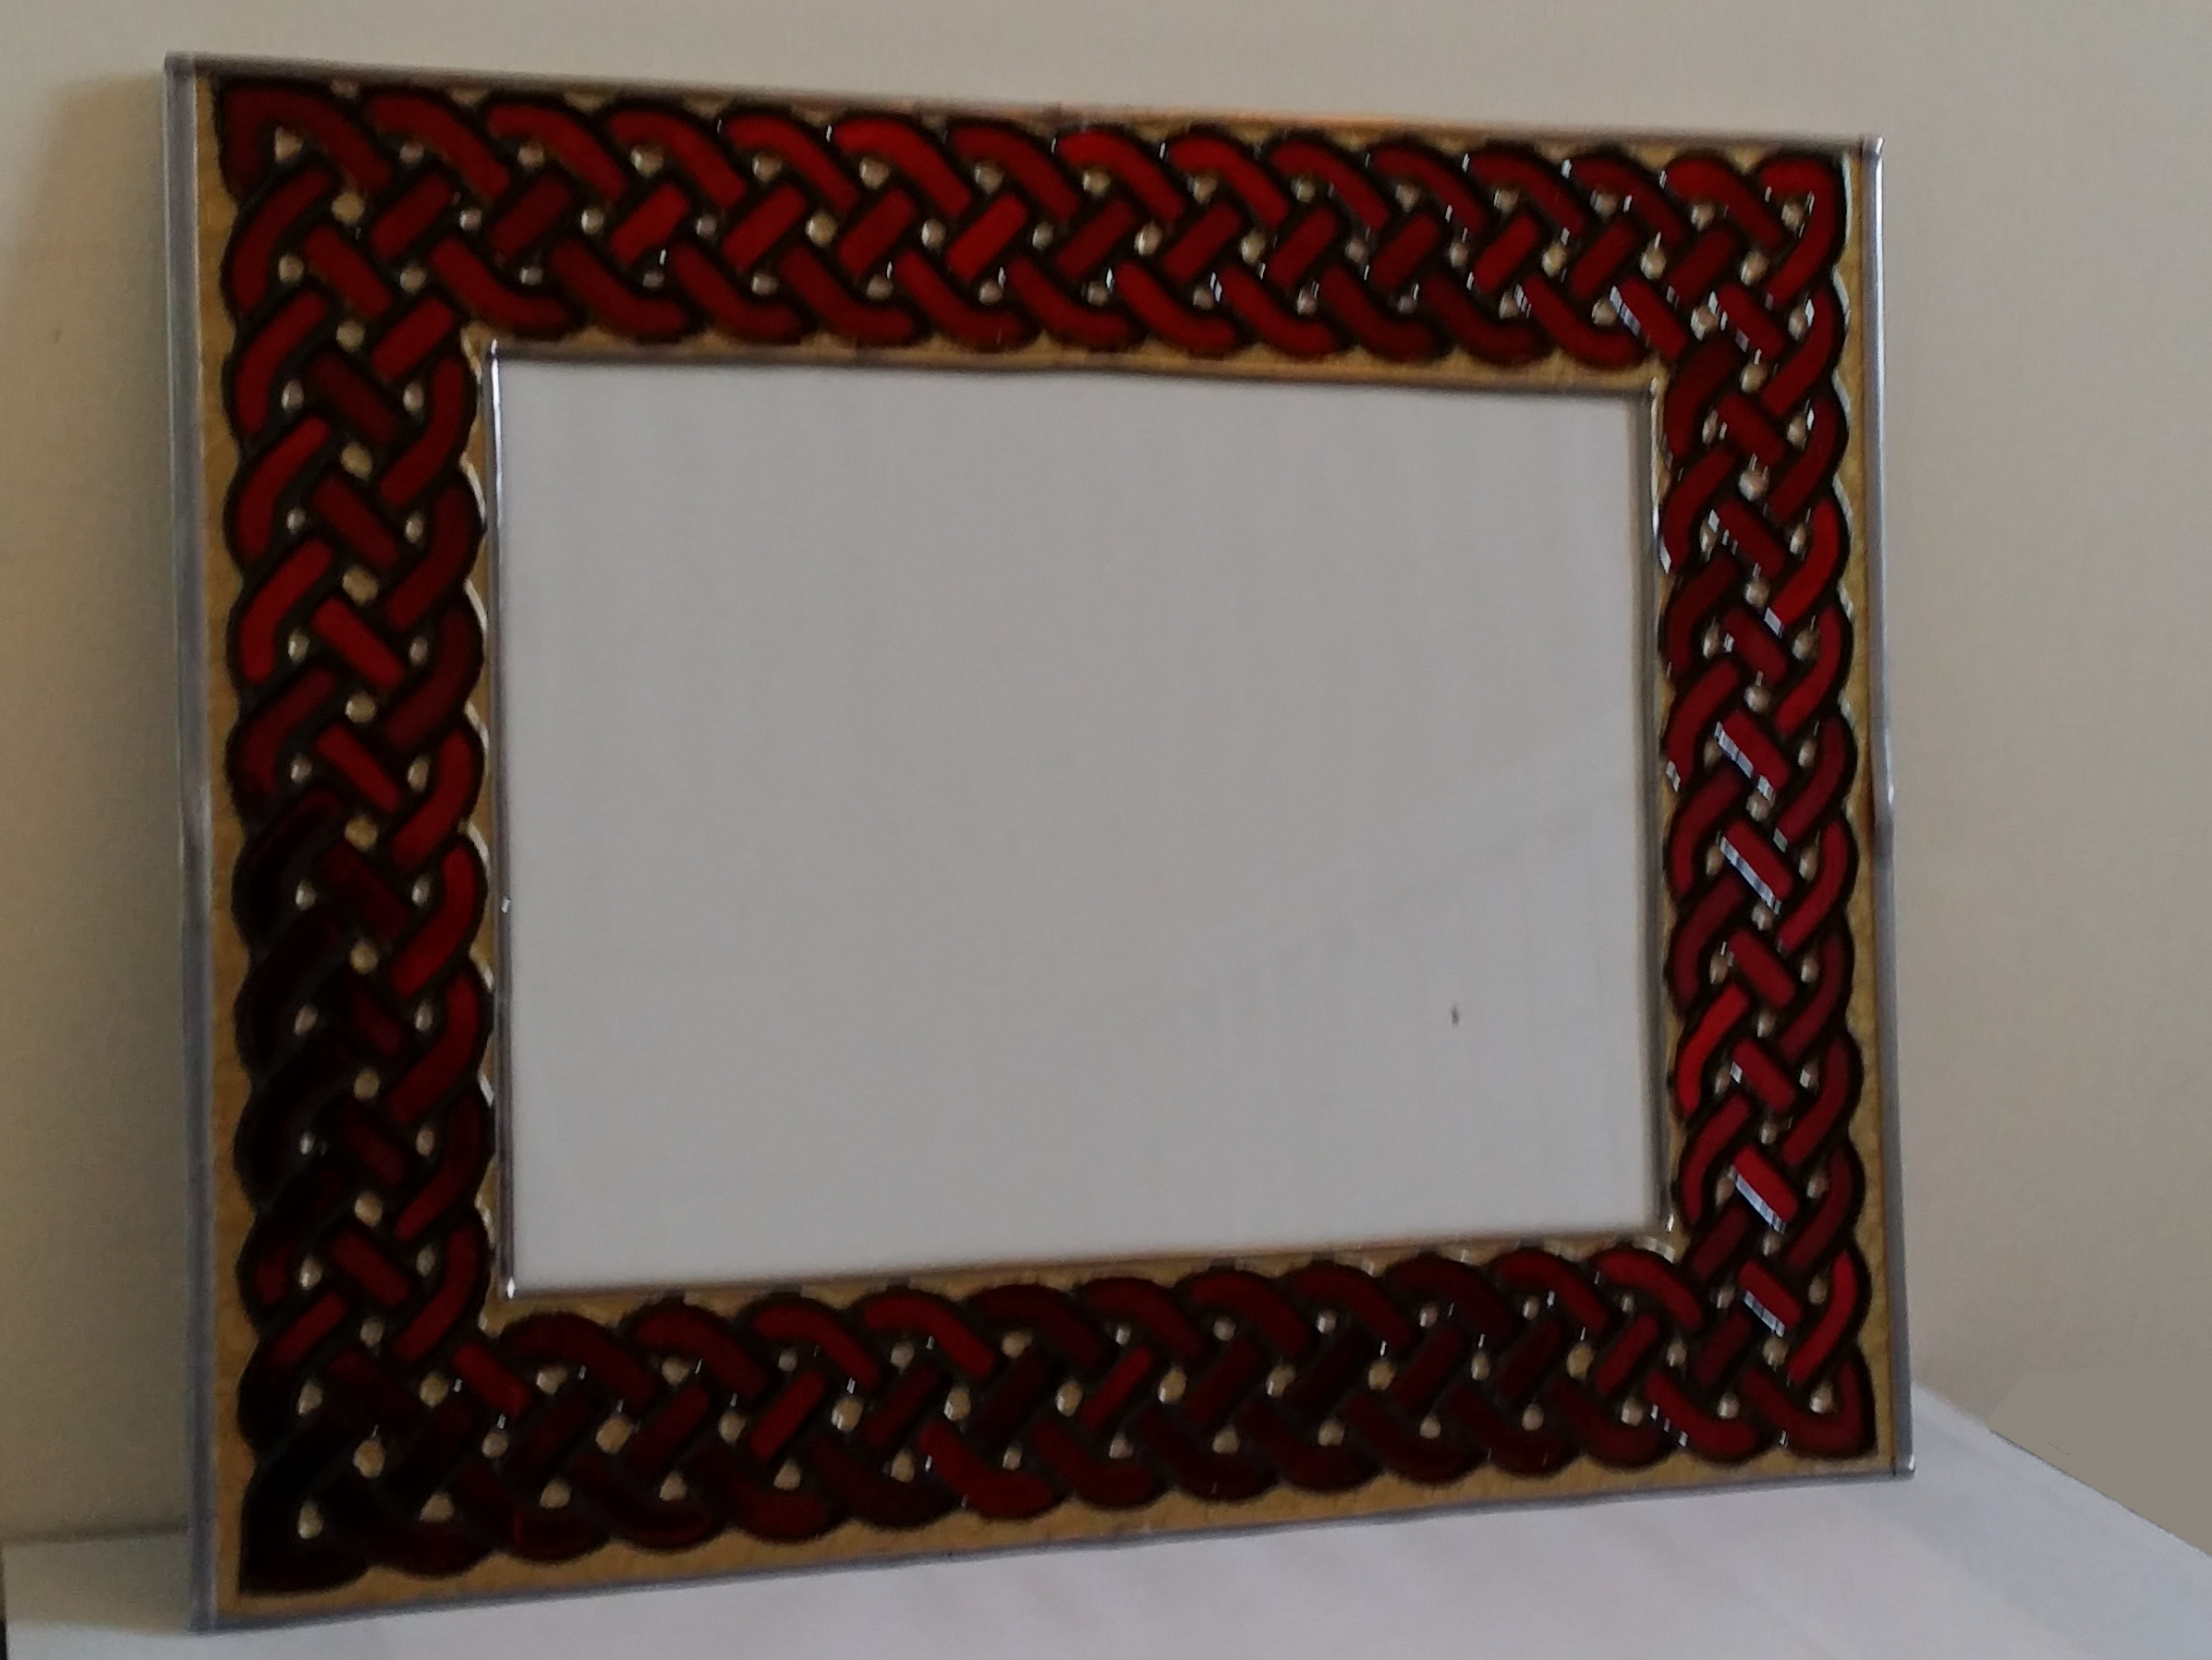
And that is the project completed. I like the Celtic design but there is no reason why you couldn’t use the same technique to make a Rennie Macintost frame, an Art Deco on or basically any design you wish.
Hope you enjoy the project and if you do try it please do let us know how you get on.


