 by
by The project is split into two parts. This is reflected by the two separate videos. The first shows you how to make the frame which is done using a cardboard. Templates for that are also available. The second video take you through the piping and painting of the design and then putting the two together.

Framed Suncatcher Project.
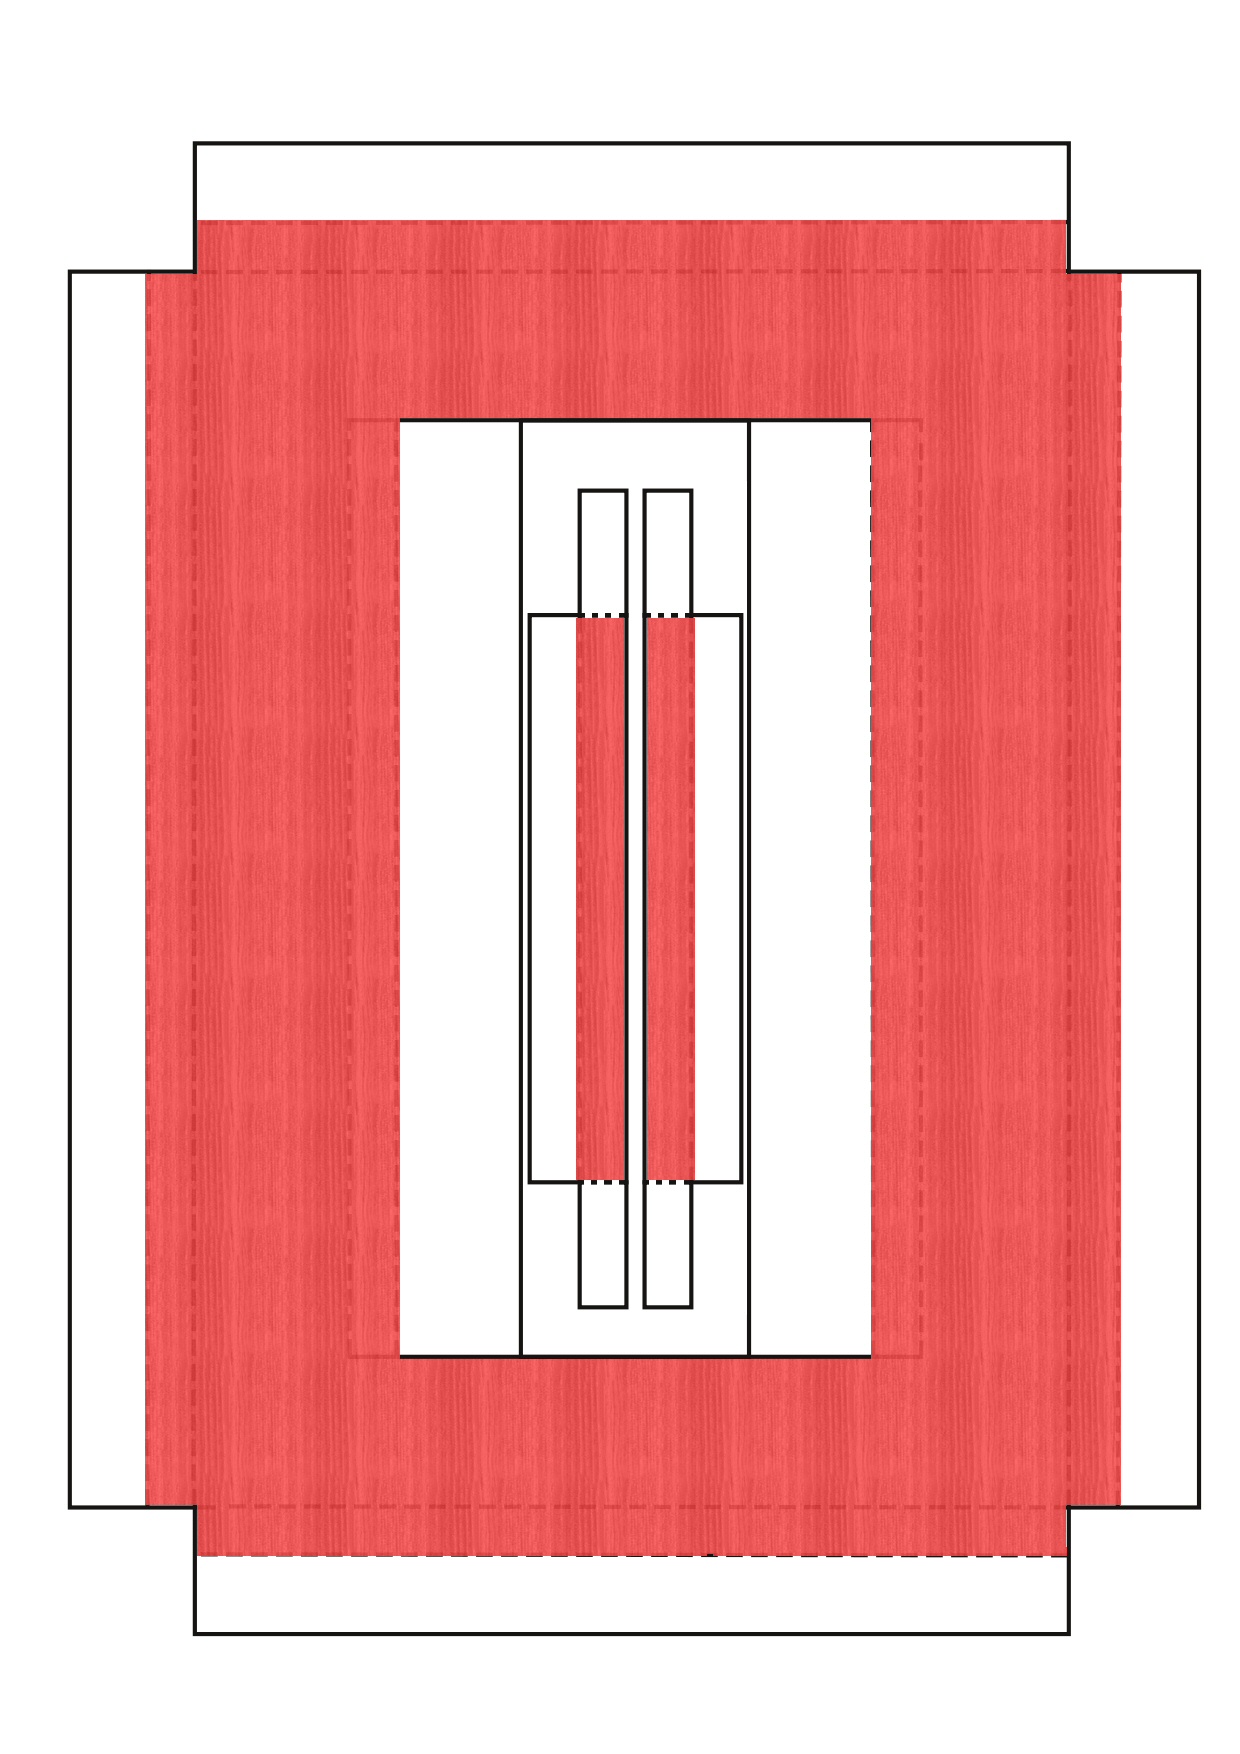
The Frame.
This video shows you how to put the frame together.
You will need the following:
- Sharp Craft knife/Cutting Mat or good scissors.
- Blunt knife or edge.
- Ruler.
- 4 paper clips.
- Glue suitable for card.
- Two sheets of A4 white card which will go through your printer.
- Thread and large sewing needle.
The process is quite simple. Just cut out the template following the solid lines. After that you will need to score and fold the dotted lines. Glue the frame together as shown in the video not forgetting to add the hanging thread at the appropriate time. Which side you do this on depends if you want a landscape or portrait frame. Do NOT put the backing on the frame until you have completed the glass painting and put it in place.

Frame Templates (from Craftville.com)


Just click on one of these to enlarge it then right click and save onto your computer. Don’t forget to get the front and back of whichever colour you choose.

The Glass Painting.
This second video shows you how to do the glass painting. If you have done glass painting before then this should be pretty straight forward. If you haven’t you may want to watch our outlining and flood filling videos first. (and maybe have a little practice especially with the outlining).
For this part you will need.
- A sheet of acetate.
- Black outliner.
- Greaseproof paper (if you want to make a piping bag).
- Sticky tape.
- Paints in suitable colours.*
- Glue suitable for card.
- A4 sheet of white paper to print the design on.
* It really doesn’t matter which glass paints you use but we recommend flowing ones for this type of work. (Rather than the thicker waterbased pipe and peel ones). They can be waterbased or solvent. You can even use both as long as you keep them in separate areas.

Simply print of the design on an a4 sheet of papers and stick the acetate on top of it. Next outline the design and leave it to dry. Once dry it can be painted using the flood fill technique. Again this should be left to dry.
Once finished this can be stuck onto the back of the main part of the frame. Finally stick on the back of the frame itself.
Well we really hoped you enjoyed this framed suncatcher project. This Framed Suncatcher project should help you make some great presents. You can even pipe text onto it to celebrate special occasions.
p.s. Please don’t ask for a copy of the Simpsons design as it is subject to copyright and we aren’t allowed to distribute it. We just did it to show there are lots more designs on the internet which you can use. You should remember that any item you make using a copyright image can only be for personal use.


