by
by 
Glass Painting 3d Objects: Easy outlining technique.
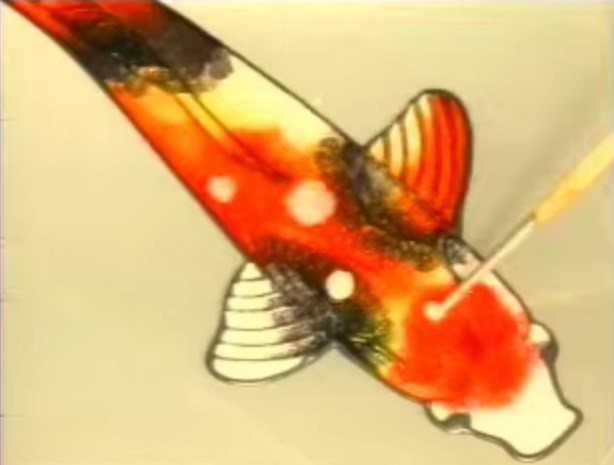
Glass Painting on 3d objects such as Vases, round lamps etc. is one of the most difficult techniques. We already have a video on the site which will help you with this but now we’d like to introduce a particular technique which will help you with the outlining, what we call the easy outlining technique. It won’t work in every situation but luckily it works best when the outlining is complicated. It doesn’t work well when there is little outlining and/or large gaps.
When we’ve been through it you’ll probably say “well that’s obvious”, as I do now, but I hadn’t tried it till a year or so ago. Like with most things it takes a little practice, especially the peeling off the flat surface.
The Easy Outlining Technique.
The technique is simple. Rather than outining directly onto the 3d object you outline flat. For the technique to work you need to ensure the outliner you use it peelable, many are including Gallery Glass, “Fun & Fancy” by Marabu and C2 by GalsArt. If you aren’t sure then just give yours a test. (strangely I find most outliners which come in bottles are peelable and most which come in tubes aren’t).

Next you need to ensure what you pipe onto is both clear (so you can see the design underneath, and something the outliner will come off easily. The answer for me was folder pockets, the clear smooth ones, not the rough semi-opaque ones.
Now you can put your design in or under the pocket and outline it, outlining flat is always easier than on a curved surface. Once outlined you should leave it to dry for at least a day. Once dry VERY carefully peel it off. Don’t worry if the odd bit breaks, you WILL be able to reassemble it.
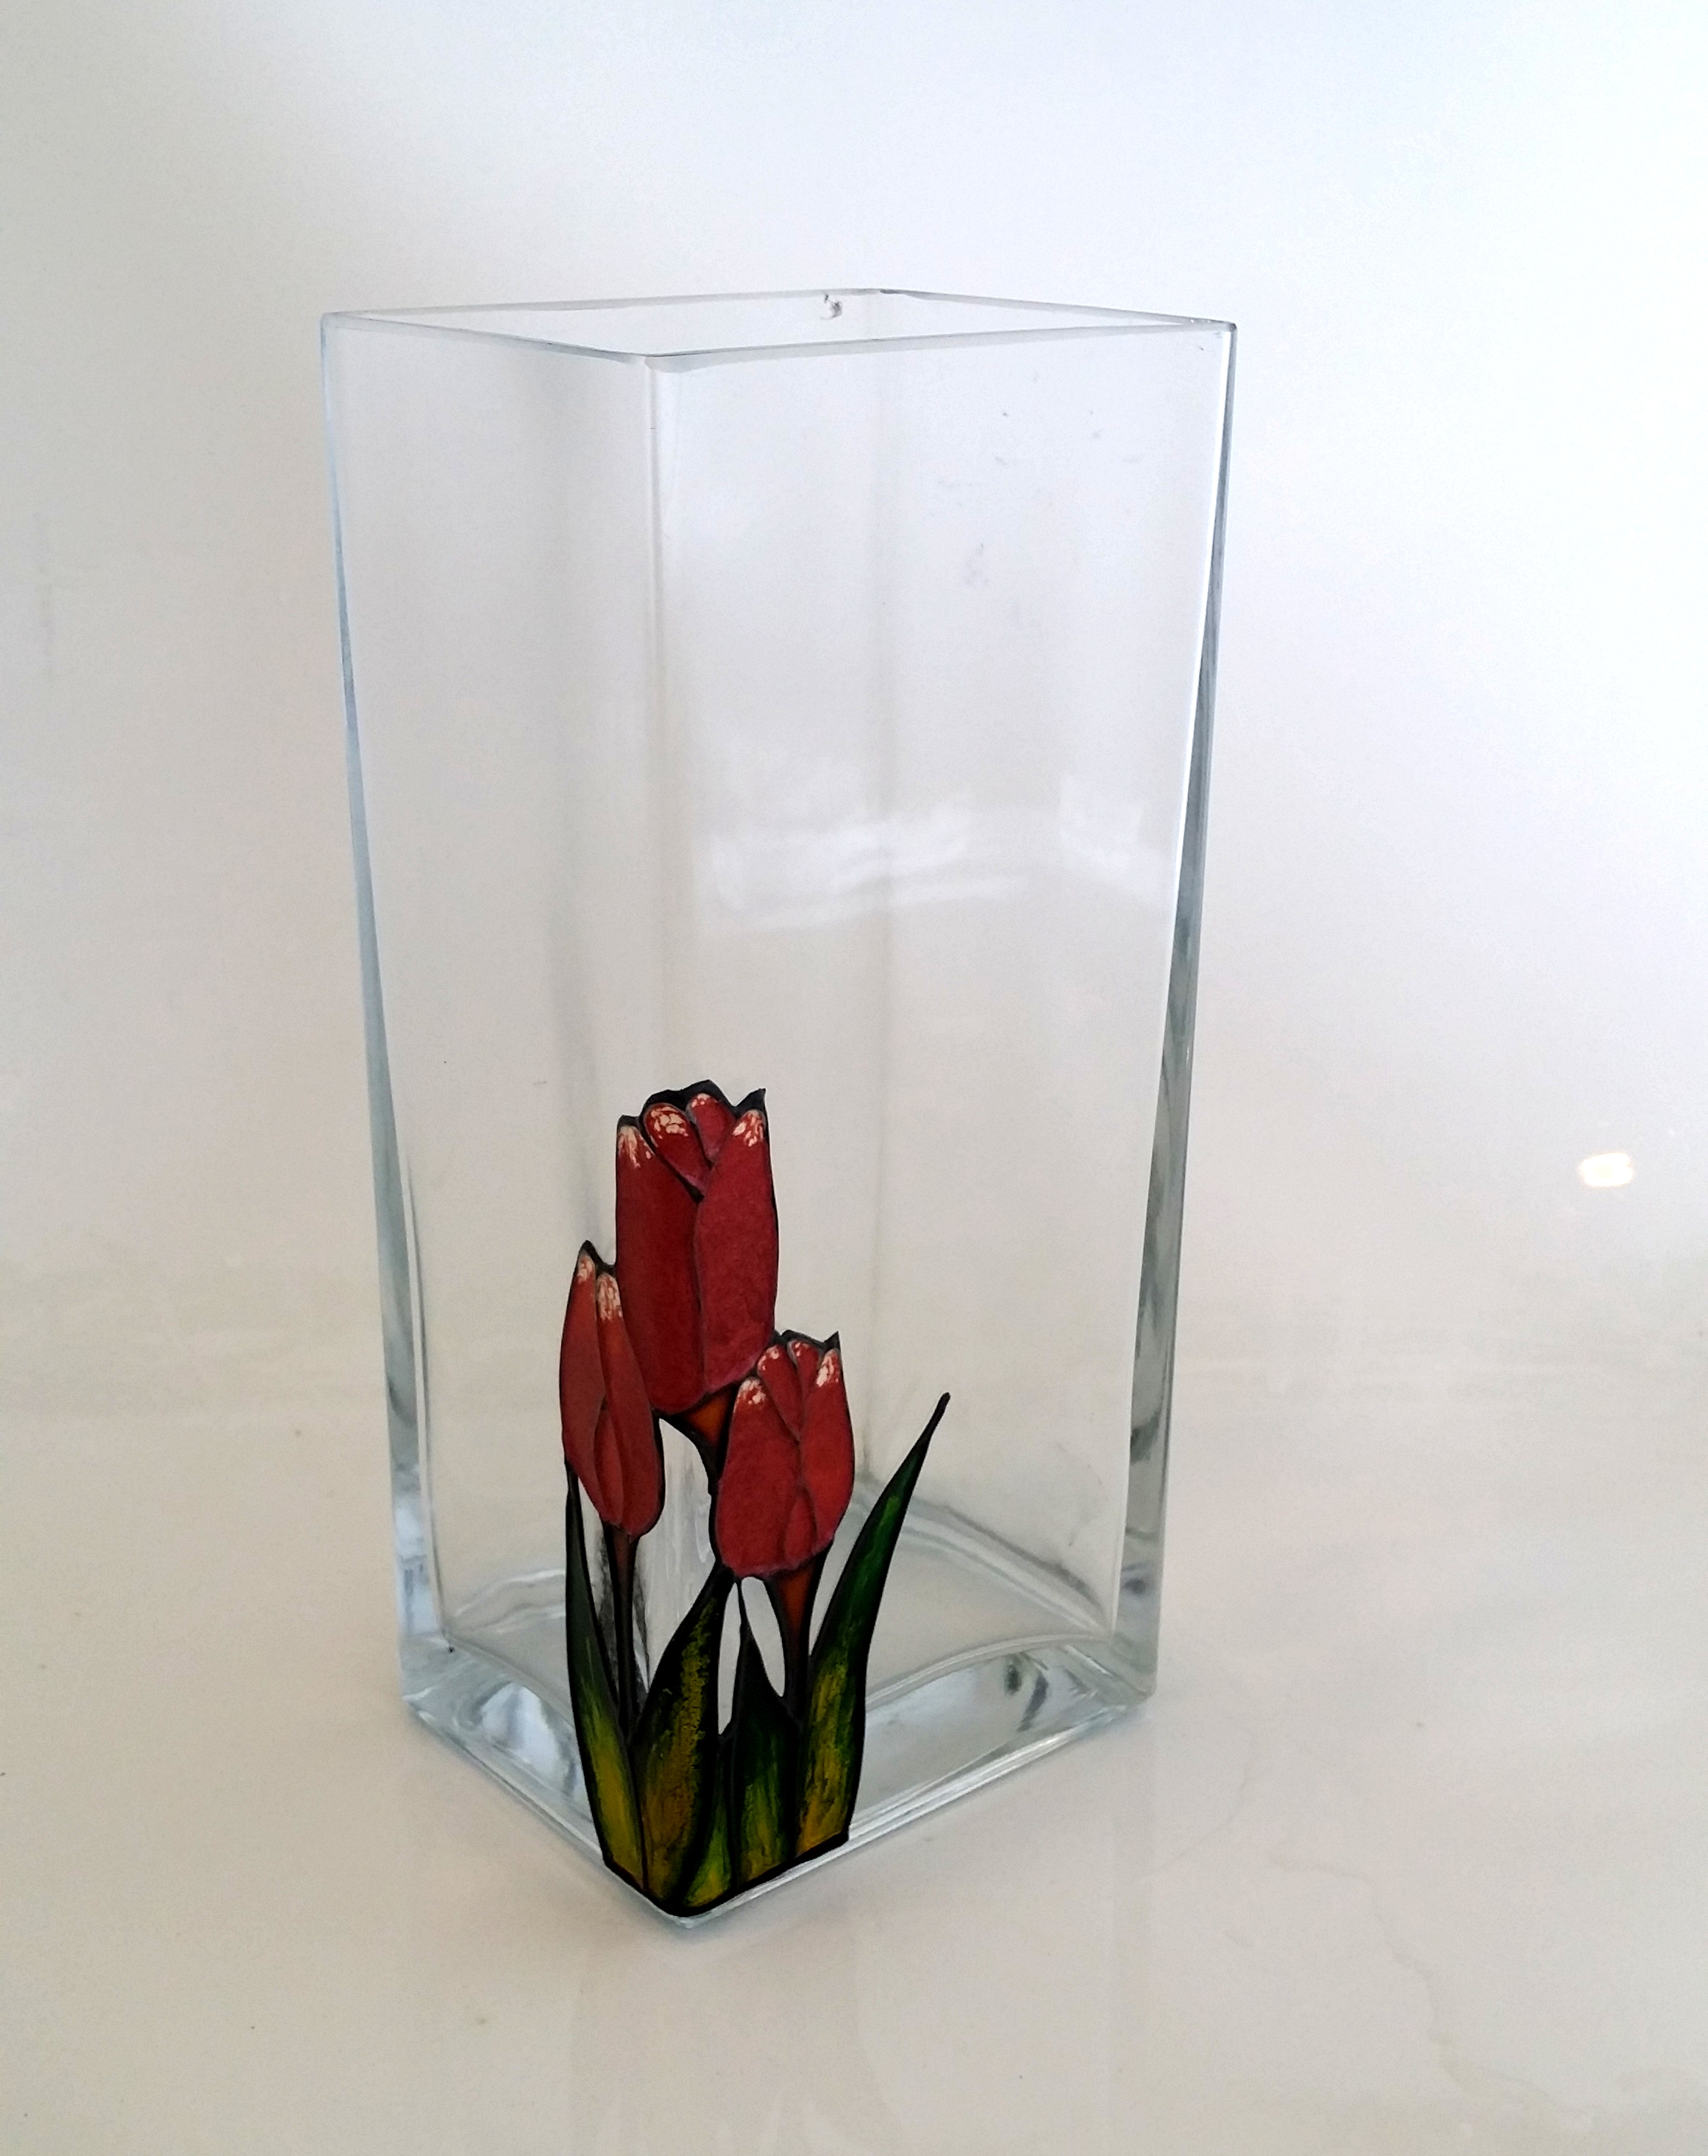
Once off turn it upside down and place it back on the pocket. This is the stage where you should ensure any broken bits are laying in the correct place.
Finally roll the object you want the outline on across the upturned design. It shouldn’t matter if the object is cylindrical or spherical, it should work on both.

Final Points.
Don’t worry that the outliner you are using is peelable. The paint will seal it onto the object.
If it doesn’t go on “correctly” you should be able to lift bits and correct it.
If there are large gaps in your design you can try adding extra temporary lines to the design then cutting them off with a craft knife once it is on the object.
I hope you enjoy this technique and find it useful. My description is a little complicated but once you have tried it a couple of times I’m certain you will find it an easy outlining technique.