by
by 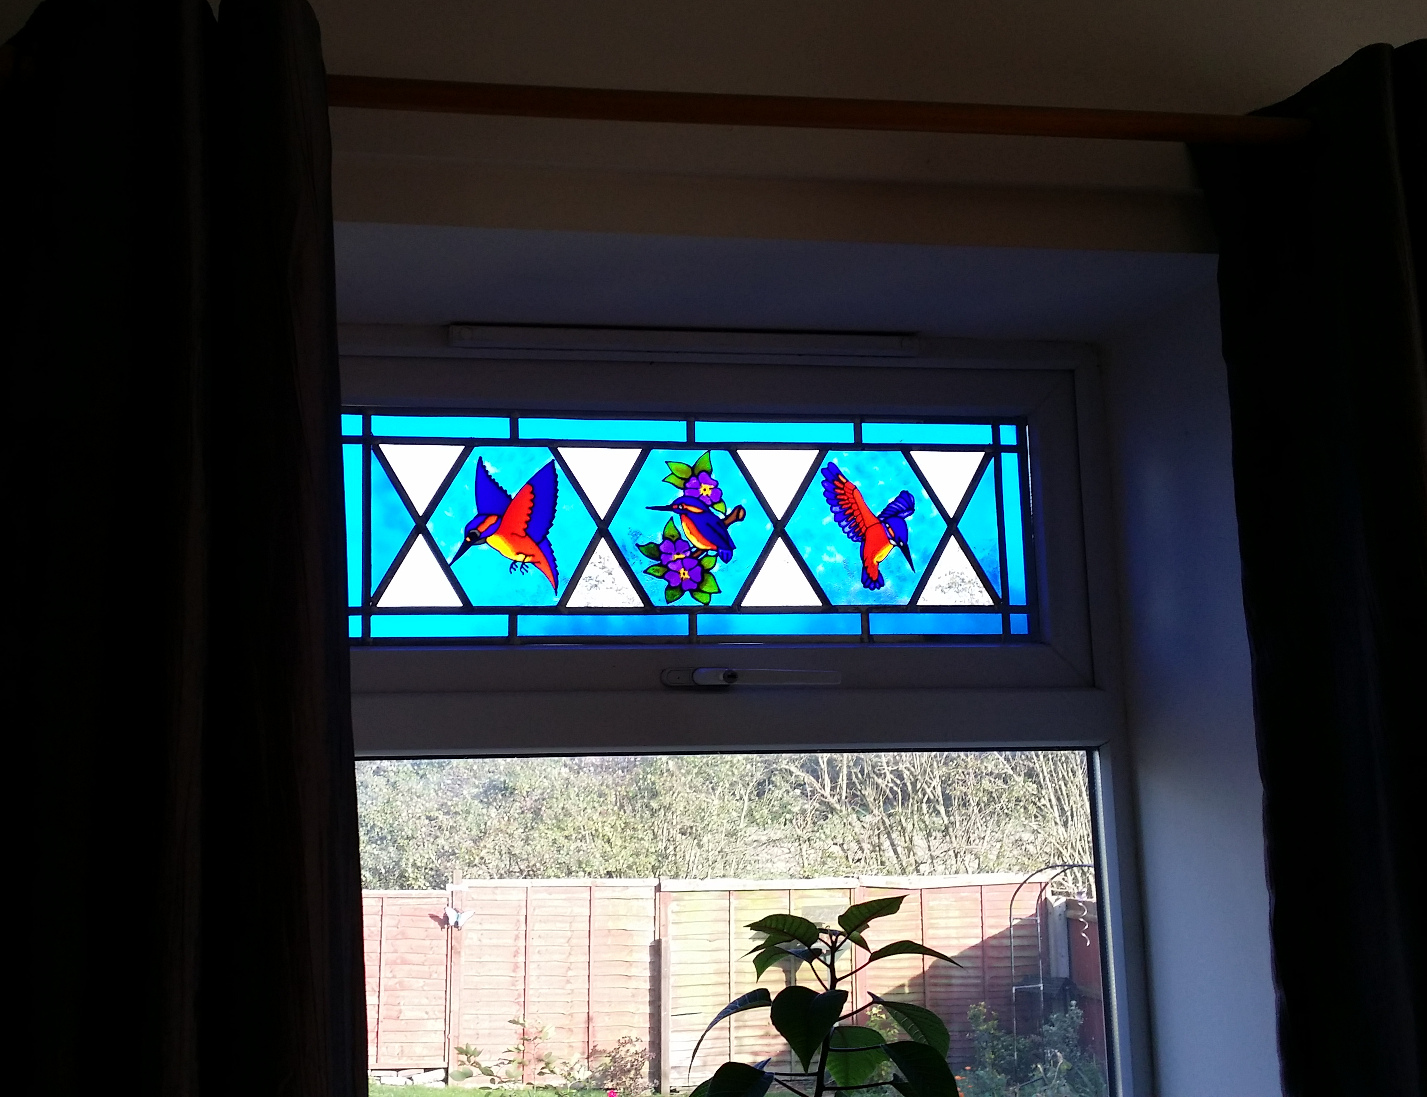
A project on glass painting a window. This glass painted with has 3 main panels which are created on thick glass painting film but this can be replaced with an alternative plastic sheet, acrylic or glass.
Obviously the whole design has been created to the size of our window. You will need to work out you own design. Ours can be used as base and changed or you can make one from scratch yourself. This can be done by hand or on a computer depending on what you are comfortable with. Whichever you choose and whatever your design the techniques you use to put it together will be the same.

Equipment and material.
- Pieces of Glass Painting Film/Plastic/Acrylic/Glass to make the panels.
- Coloured Transparent window film. (The colour will depend on your design).
- Glass paints and outliner.
- 9mm adhesive lead strip. We used the natural colour but other colours are available.
- Scissors.
- Paint Brush.
- Craft Knife.
- Soft Cloth (to press .
- A piece of hard plastic or a “boning tool” to press the lead down with.
- I made two templates (one plastic, one cardboard but it doesn;t really matter what you use.) to help me place the lead on the widow. One was for the gap between the long lead strips and the inner rectangle. The other gave the 60 degree angle for the cross sections.

Glass Painting a Window.
- Carefully work out your design. You will need to end up with a full sized basic copy and full sized copies of each of the panels. This can be done manually or on a computer. (or a mix of both).
- Create your panels using basic glass painting techniques placing the design under your plastic/acrylic/glass, outlining and flood filling.
- Cut out and number the pieces of coloured glass painting film (use a felt to number them on the back. Using a ballpoint pen will indent the front which you don’t want!).
- Stick you full-size design behind the window with Bluetack.
- Add the coloured film to the window. You can spray a little water onto the glass to ensure the film doesn’t stick too well too soon. Remember to press the film down really well to get rid of any water and air underneath.
- Spend a little time thinking about the order you are going to add the lead strip. You want to end up with as few loose ends as possible by tucking as many as possible under other strips. Remember you will be using these to stick the main panels onto the glass.
- Place the lead strip and add the main panels as you go. (This is the stage to use your templates if yo have made them.) It is best to do both ends and work to the middle OR start in the middle and work your way to the edges. As you are sure each piece of lead is in the correct place ensure you press it down firmly.
- Finally take the design off the back of the window and this will be your piece completed.
The designs we have used in this project can be downloaded for free of our design page HERE.
Summery.
Obviously the whole design we have done is based around the size and shape of our window. You will need to make your own design based on yours. This don’t have to be too difficult as the main elements, the panels, can be based on existing design which you can then resize to suit your needs