Making a Piping Bag for Glass Painting.

There are 3 different ways of applying the outliner. From a piping bag, from a bottle and from a tube (like a smaller version of a toothpaste tube. The tubes have become really popular lately and for the life of me I can’t work out why. They are the hardest method to use. It is difficult to get a steady flow and often it doesn’t stop coming out of the tube when you stop pressing (this varies depending on what the tube is actually made of).
I have had some success using bottles but it does depend greatly on the softness of the bottle and the nib. That is another issue with both bottles and tubes, you’re basically stuck with the nib provided.
So with all of that in mid a piping bag is the best solution. The outliner stops coming out when you stop pressing. You can continually roll the large end of the bag up so it is always “full” and you can cut the end to whatever size you want the line to be.
Even though many people agree that a piping bag is best, many also find making a piping bag for glass painting difficult. Like many things, it’s down to practice. Once you’ve learned how to do it you will be making the bags in seconds.

Instructions:
- Take a piece of parchment/greaseproof paper about 18cm square.
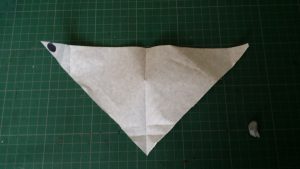
- Cut it diagonally so you have to triangles. Put one to the side and fold the other in have (as per the photo, so you have a crease down the middle.
- Now the difficult bit. Put the triangle in front of you so it’s pointing towards you like an arrow. Grab the top left corner, twist it as you get the top edge to like up with your center crease. (This is really difficult to explain, it really is best seen in the video above). You should now have a cone.
-

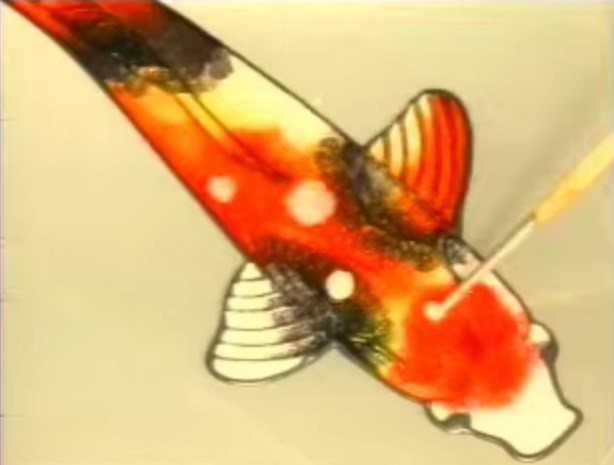
Making a Piping Bag for Glass Painting. Fig.2. Continue to hold this cone together with your right hand whist you grab the top right hand corner with your left hand and roll it round the back.
- You should now have a cone with two layers.
- Use your thumb and finger to side these two layer against each other to make the point of the cone totally closed.
- Now fold the back tabs of the cone down twice to hold it together.
- Put in some outliner (not too much). Place it down on the desk so the join is underneath and you can’t see it. Fold in the two sides slightly and the roll upwards. This will tighten the join at the back.
-

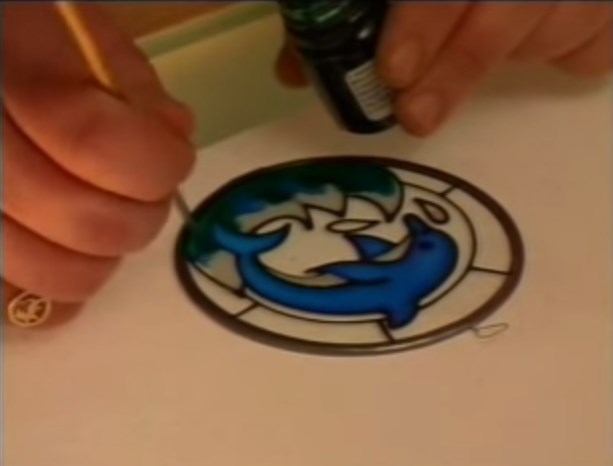
Making a Piping Bag for Glass Painting. Fig.3. Now cut your tip to the desired size. If you are unsure start by only taking a little off at a time until you reach the correct size. Remember you can always take a little more off but you can’t put it back on.
Summery.
Well that made something which is relatively easy sound very difficult. Please watch the video, it is much easier to follow than the written instructions.

Remember, don’t waste your outliner. Whatever you don’t use can be put back in the bottle (or another airtight container if it came from a tube). Just cut quite a large tip and roll the bag up as it goes back into the bottle.
p.s. One final benefit of using a piping bag. You can buy the large bottles of outliner which is much better value in the long run than lots of small tubes.


