by
by 
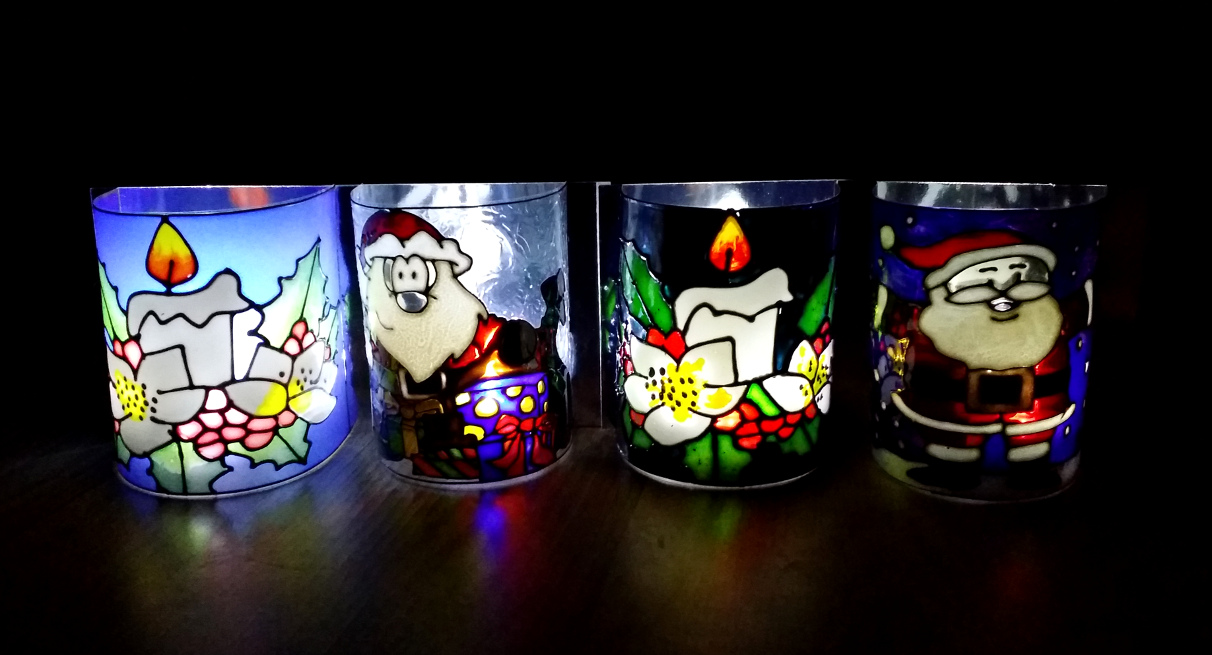
This is a fairly simple glass painted Mackintosh style vase project. It actually shows two different ways of doing it. The simpler way, and the method I have used to do the majority of the vase, it to use adhesive colour window film. The more difficult way is to use glass paint which is always a bit problematic when working on a curved surface. Both methods use a 3mm adhesive lead.
Obviously most people will chose one method or the other. The main thing to remember is, if you are using the adhesive film then you will need to put that on first and the lead up after. If you are going to glass paint the piece then you will need to lead up first and then paint.
Mackintosh Style Vase Project.
Materials and equipment.
- 3mm adhesive lead. (I used gold but you can select your own colour).
- Transparent Glass Paint OR Adhesive Coloured window film (transparent).
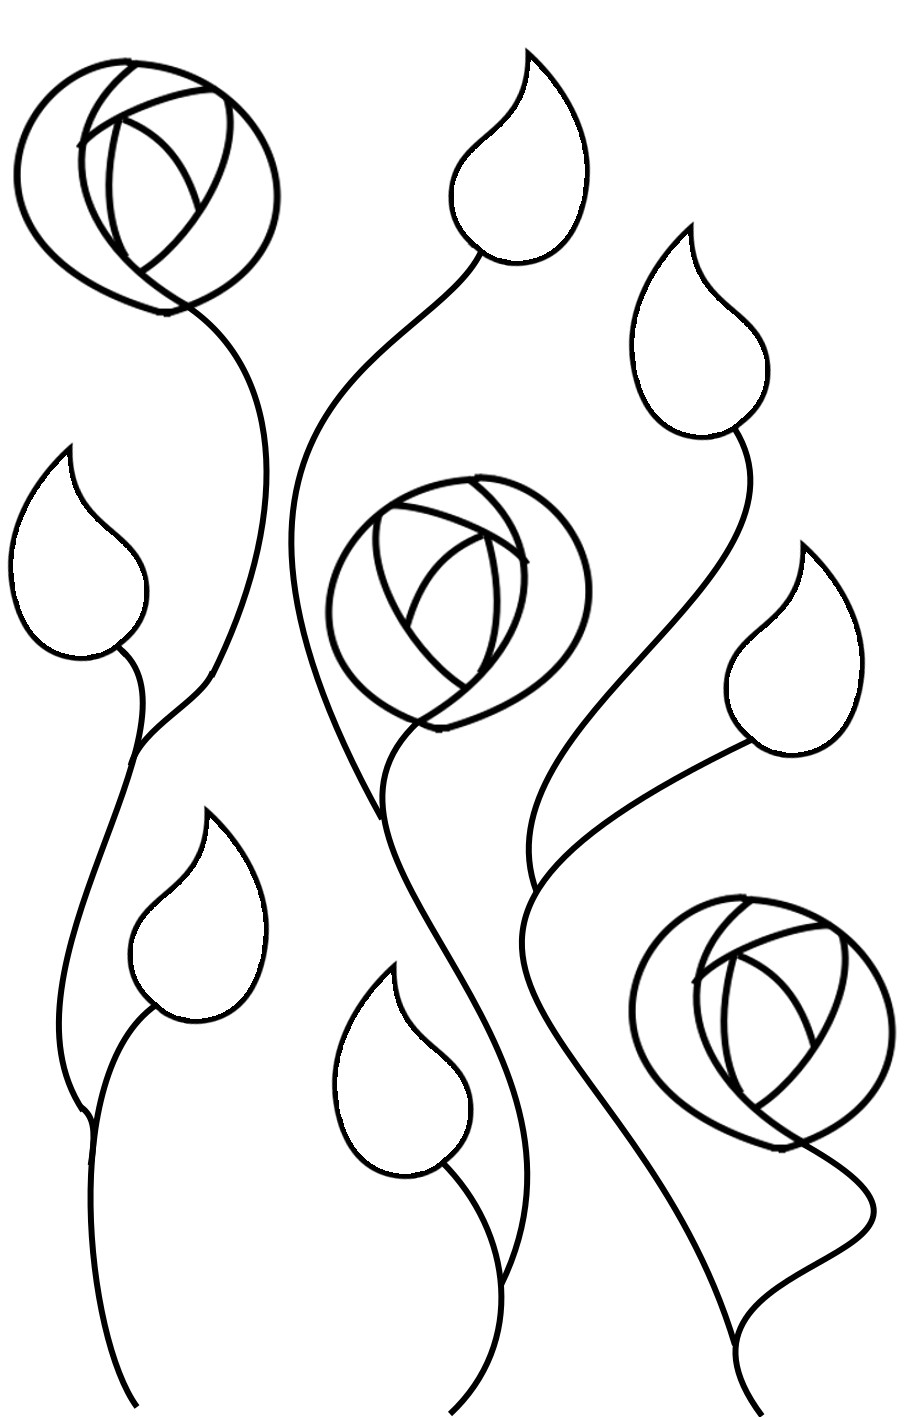
- A full-size copy of the design. (not essential but I like to have it to measure gaps, sizes of lengths of lead etc).*
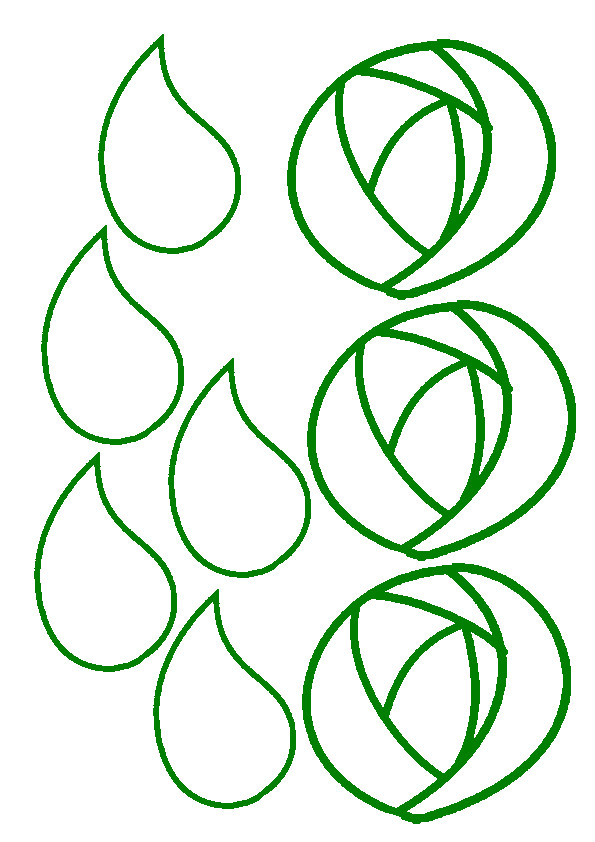
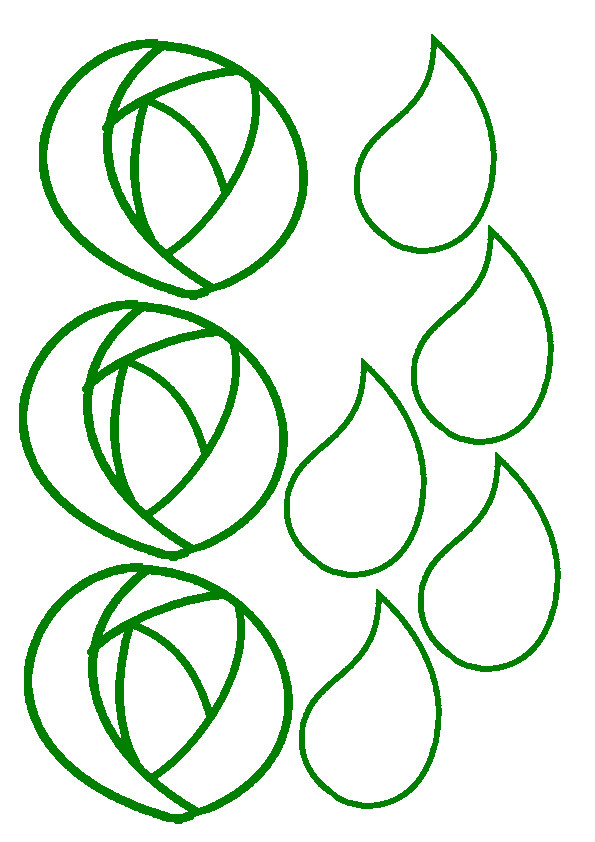
- Full size copy of the main elements (Flowers and Leaves)plus another mirrored copy if you are using film.
- Blue Tack.
- Boning tool or hard plastic implement.
- Paint Brush (if painting).
- Soft cloth (if using film).
- PVA glue (if using film).
- Scissors
- Craft Knife.
- Vase.
*The design I have worked out is obviously made for the vase I had to work on.

Preparation.
Cut out the copies of the main elements which you have printed out and use blue tack to stick them inside the vase according to your design. If you lay the vase down on the full-sized copy of the design it will help you place things at the correct hight. Don’t be afraid to jiggled the design elements around a bit if it doesn’t look quite right. You don’t have to stick rigidly to the design and things can look a little different once they are on the vase.
Adding the film (Skip to leading up if you intend to paint the vase).
- Print out another copy of the leaf shapes and flower shapes but this time ensure it is mirrored.
- Cut out the shapes and use PVA glue to stick them to the paper on the back of the coloured film. (selecting the correct colour film for each element).
- After the glue has dried cut out the shapes.
- Before adding a shape to the vase wet the area slightly then peel the backing off the film and place it on the vase (using the elements you have blue tacked on the inside of the vase as a guide. Use the soft cloth to press it down and ensure there are no air bubbles left underneath.
- Repeat the process for each of the elements.
Leading Up.
Leading up always takes quite a bit of planning as you want to end up with as few loose ends as possible. This normally means doing the smaller bits first and then adding the longer runs. (not always as you will want to add the leaf stems first and THEN do the leaf shape). Just use your full sized print out to work out which order to do things in. Yu can also use your full-sized design to cut the pieces of lead roughly to size. When it comes to placing the lead on the glass you can use the copies of the elements suck inside the vase as guides. The stems you will need to do by eye, just ensure they “flow”.
Ensure you press the lead onto the vase firmly. Go over it with the boning tool to ensure it is stuck properly and to tighten the connections.
Painting (If you haven’t used the film).
Painting on a curved is always difficult however there are a few tips which can help you achieve a better finish.
- Accept this painting is going to take a long time, most of it spent waiting for bits to dry. If you try and rush it then it won’t produce a good finish.
- Paint ONE section at a time first getting it as flat as possible. Once painted leave to to be at LEAST tacky dry before you move the vase around slightly to do the next (For me that is a least 2 hours in a warm room).
- Use as little paint as you can get away with. Enough to give the colour and to sure sure an even cover but not so much that it can run.
- Use a nice soft paint brush.
- Ensure the room you work in a warm and if possible warm up the vase each time before you paint. Don’t get it too hot, just warm. (I used to use a lamp with a bulb in it to do this but now have to use a hair dryer as none of the new bulbs seem to give out much heat).
Painting on curved surfaces is still difficult and takes practice but the tips above should help.
Mackintosh Style Vase Project Summery.
You don’t have to stick to our design. Even if you do you will need to alter it to suit the size of your vase. Just remember the 3mm lead, whist very versatile, has its limits. Ensure the design isn’t over complicated.
We hope you enjoy the Mackintosh style vase project, if you have any questions or comment please feel free to leave them below.