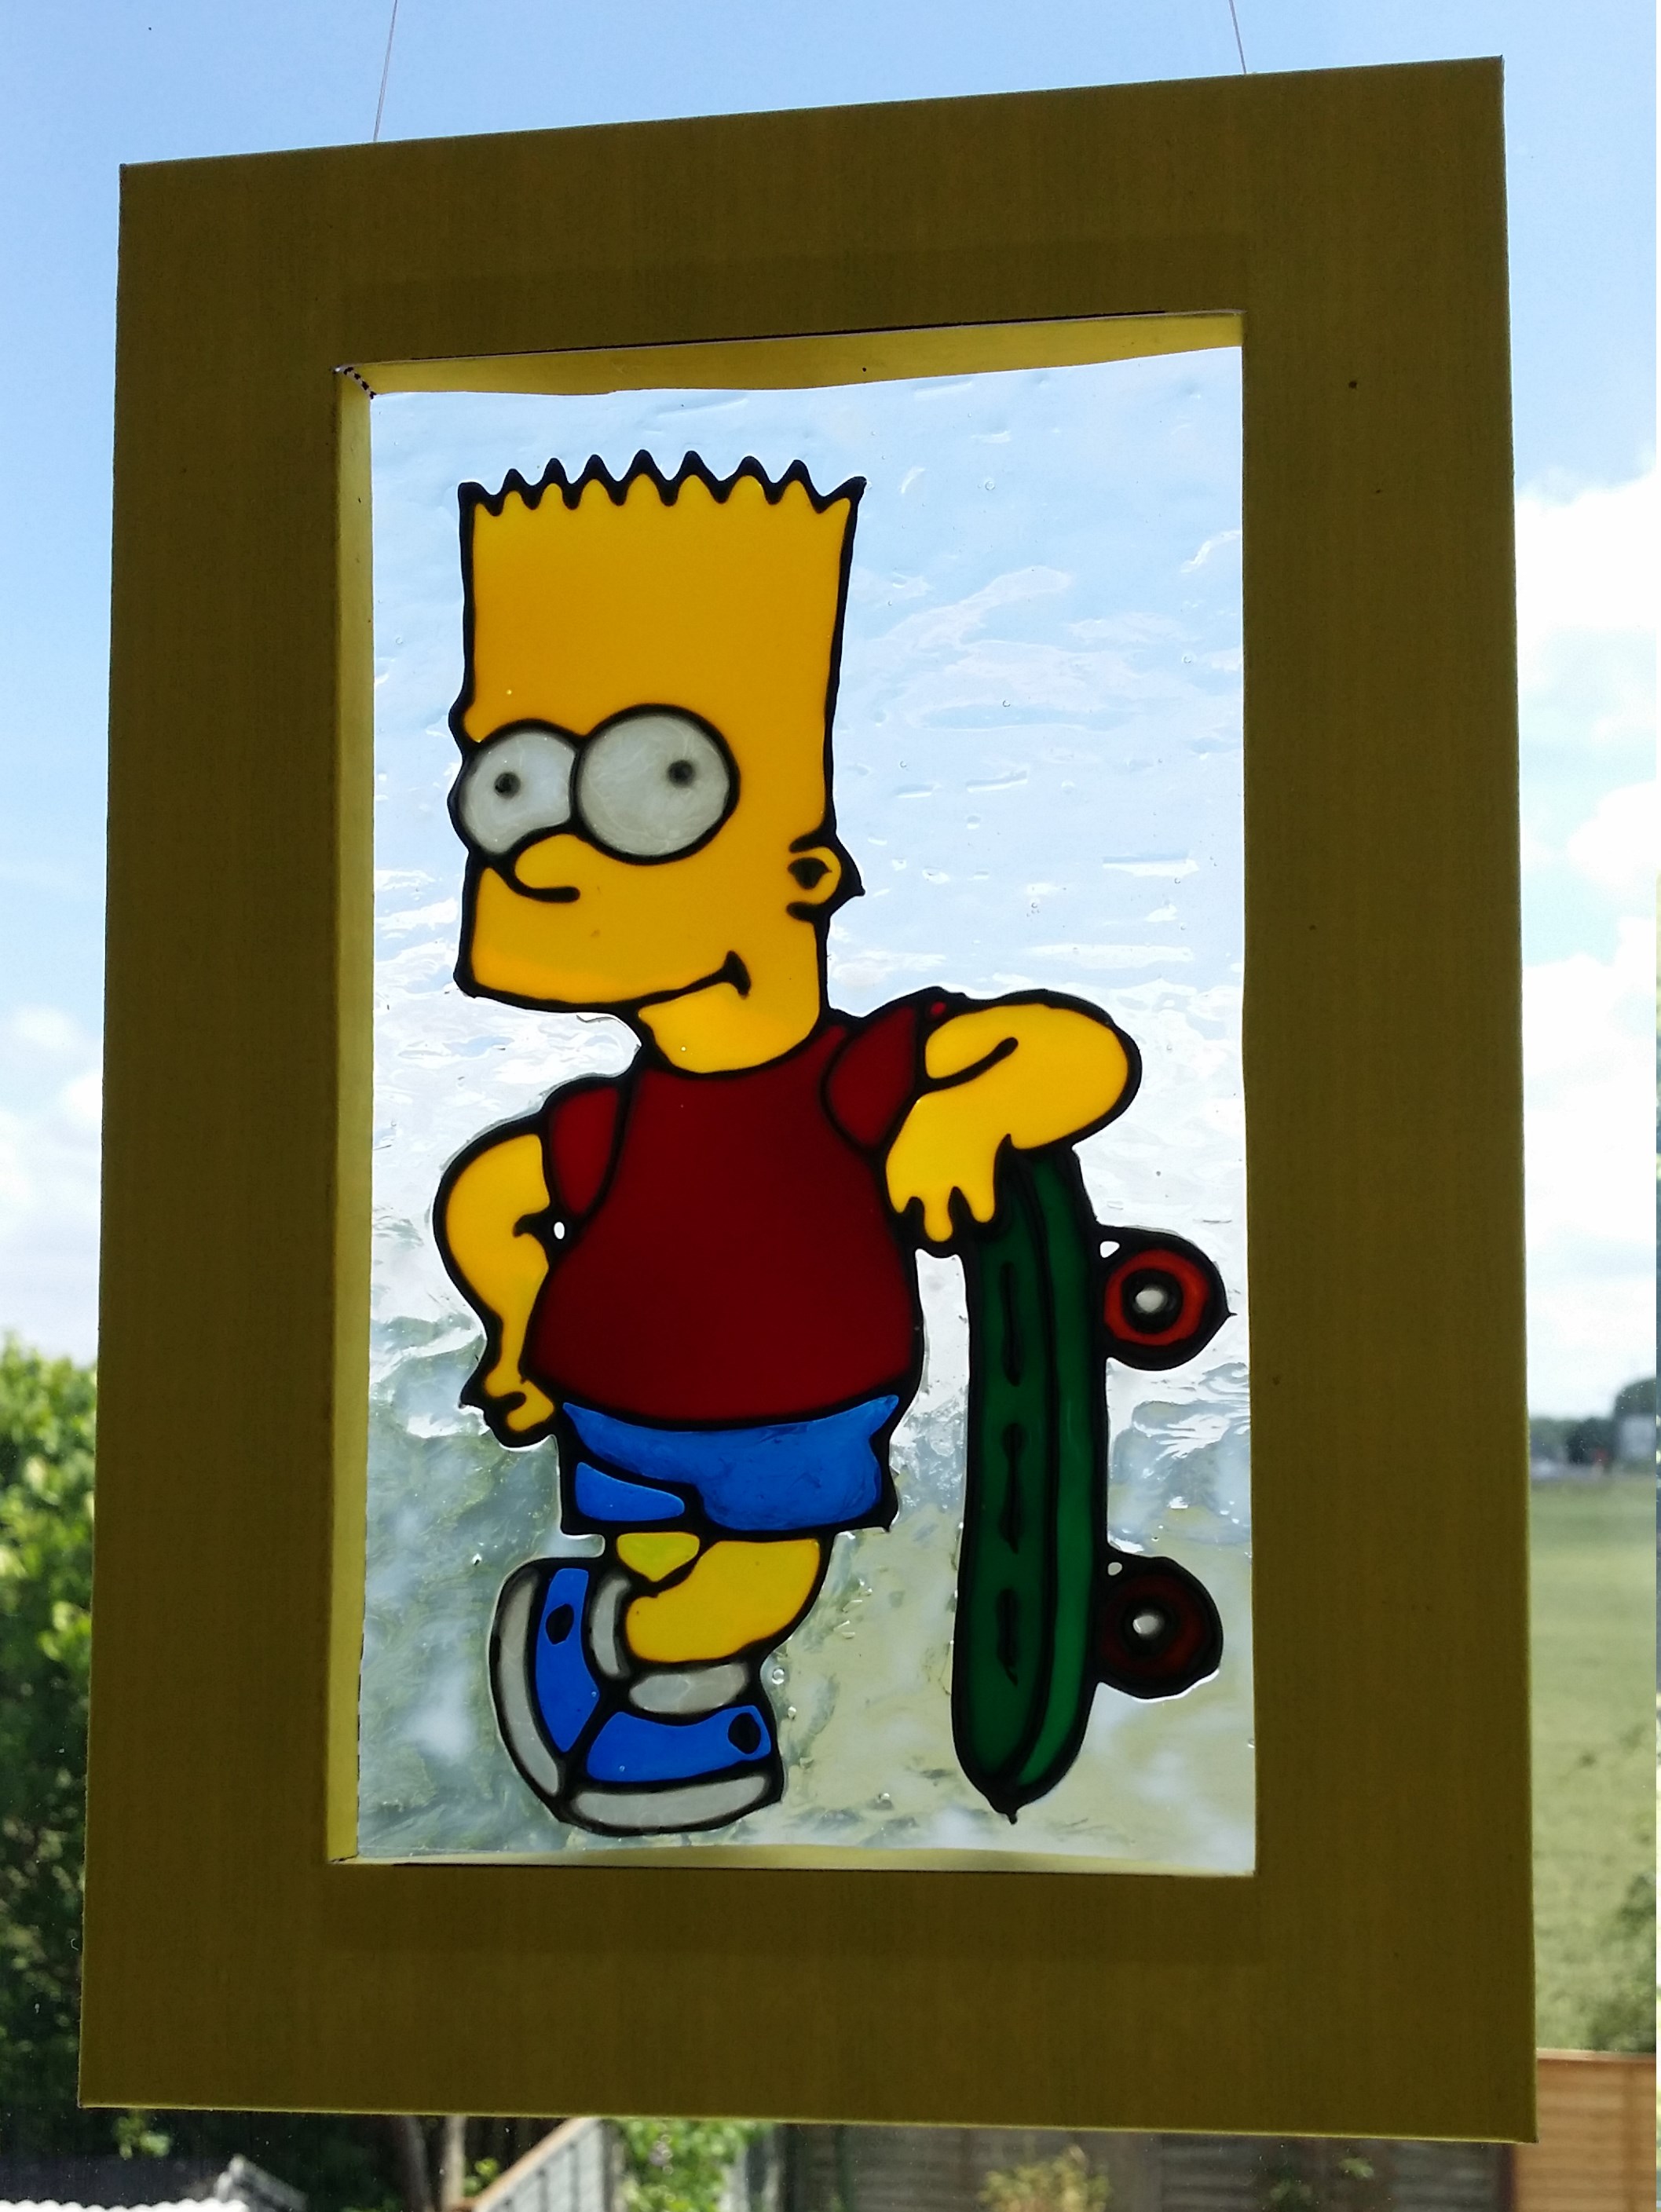
by
by 
In the last Glass Painted Jam Jars and Mason Jars project of this type we used thick waterbased paints in all the techniques. This time we have three techniques which use solvent based glass paints. As normal the best results are obtained by working flat so each technique does that and then shows you how to move your work onto the jar.
We have used Pebeo glass paints and gallery glass outliner. Having said that the techniques should work well with any solvent based glass paints. You just need to ensure the paints are flexable, most acrylic based paints are. (the old cellulose based glass paints would break when bent).
Glass Painted Jam Jars and Mason Jars (Solvent Paint).

Glass Painted Jam Jars and Mason Jars. Technique 1.
This is a very simple technique. The main piece is created on a piece of acetate, cut ouot and then stuck to the jars with a clear PVA glue. You need to ensure you use enough paint to cover the back of the piece but not so much that is has issues drying.
Don’t worry if you get little bit of glue escaping around the edges of your piece. Let it dry and then cut it off with a craft knife. As you will see in the video we used the PVA glue to stick on some glass nuggets for decoration. The best way of doing this is putting the glue on. letting it go “tacky dry” and then pressing the nuggets into it.
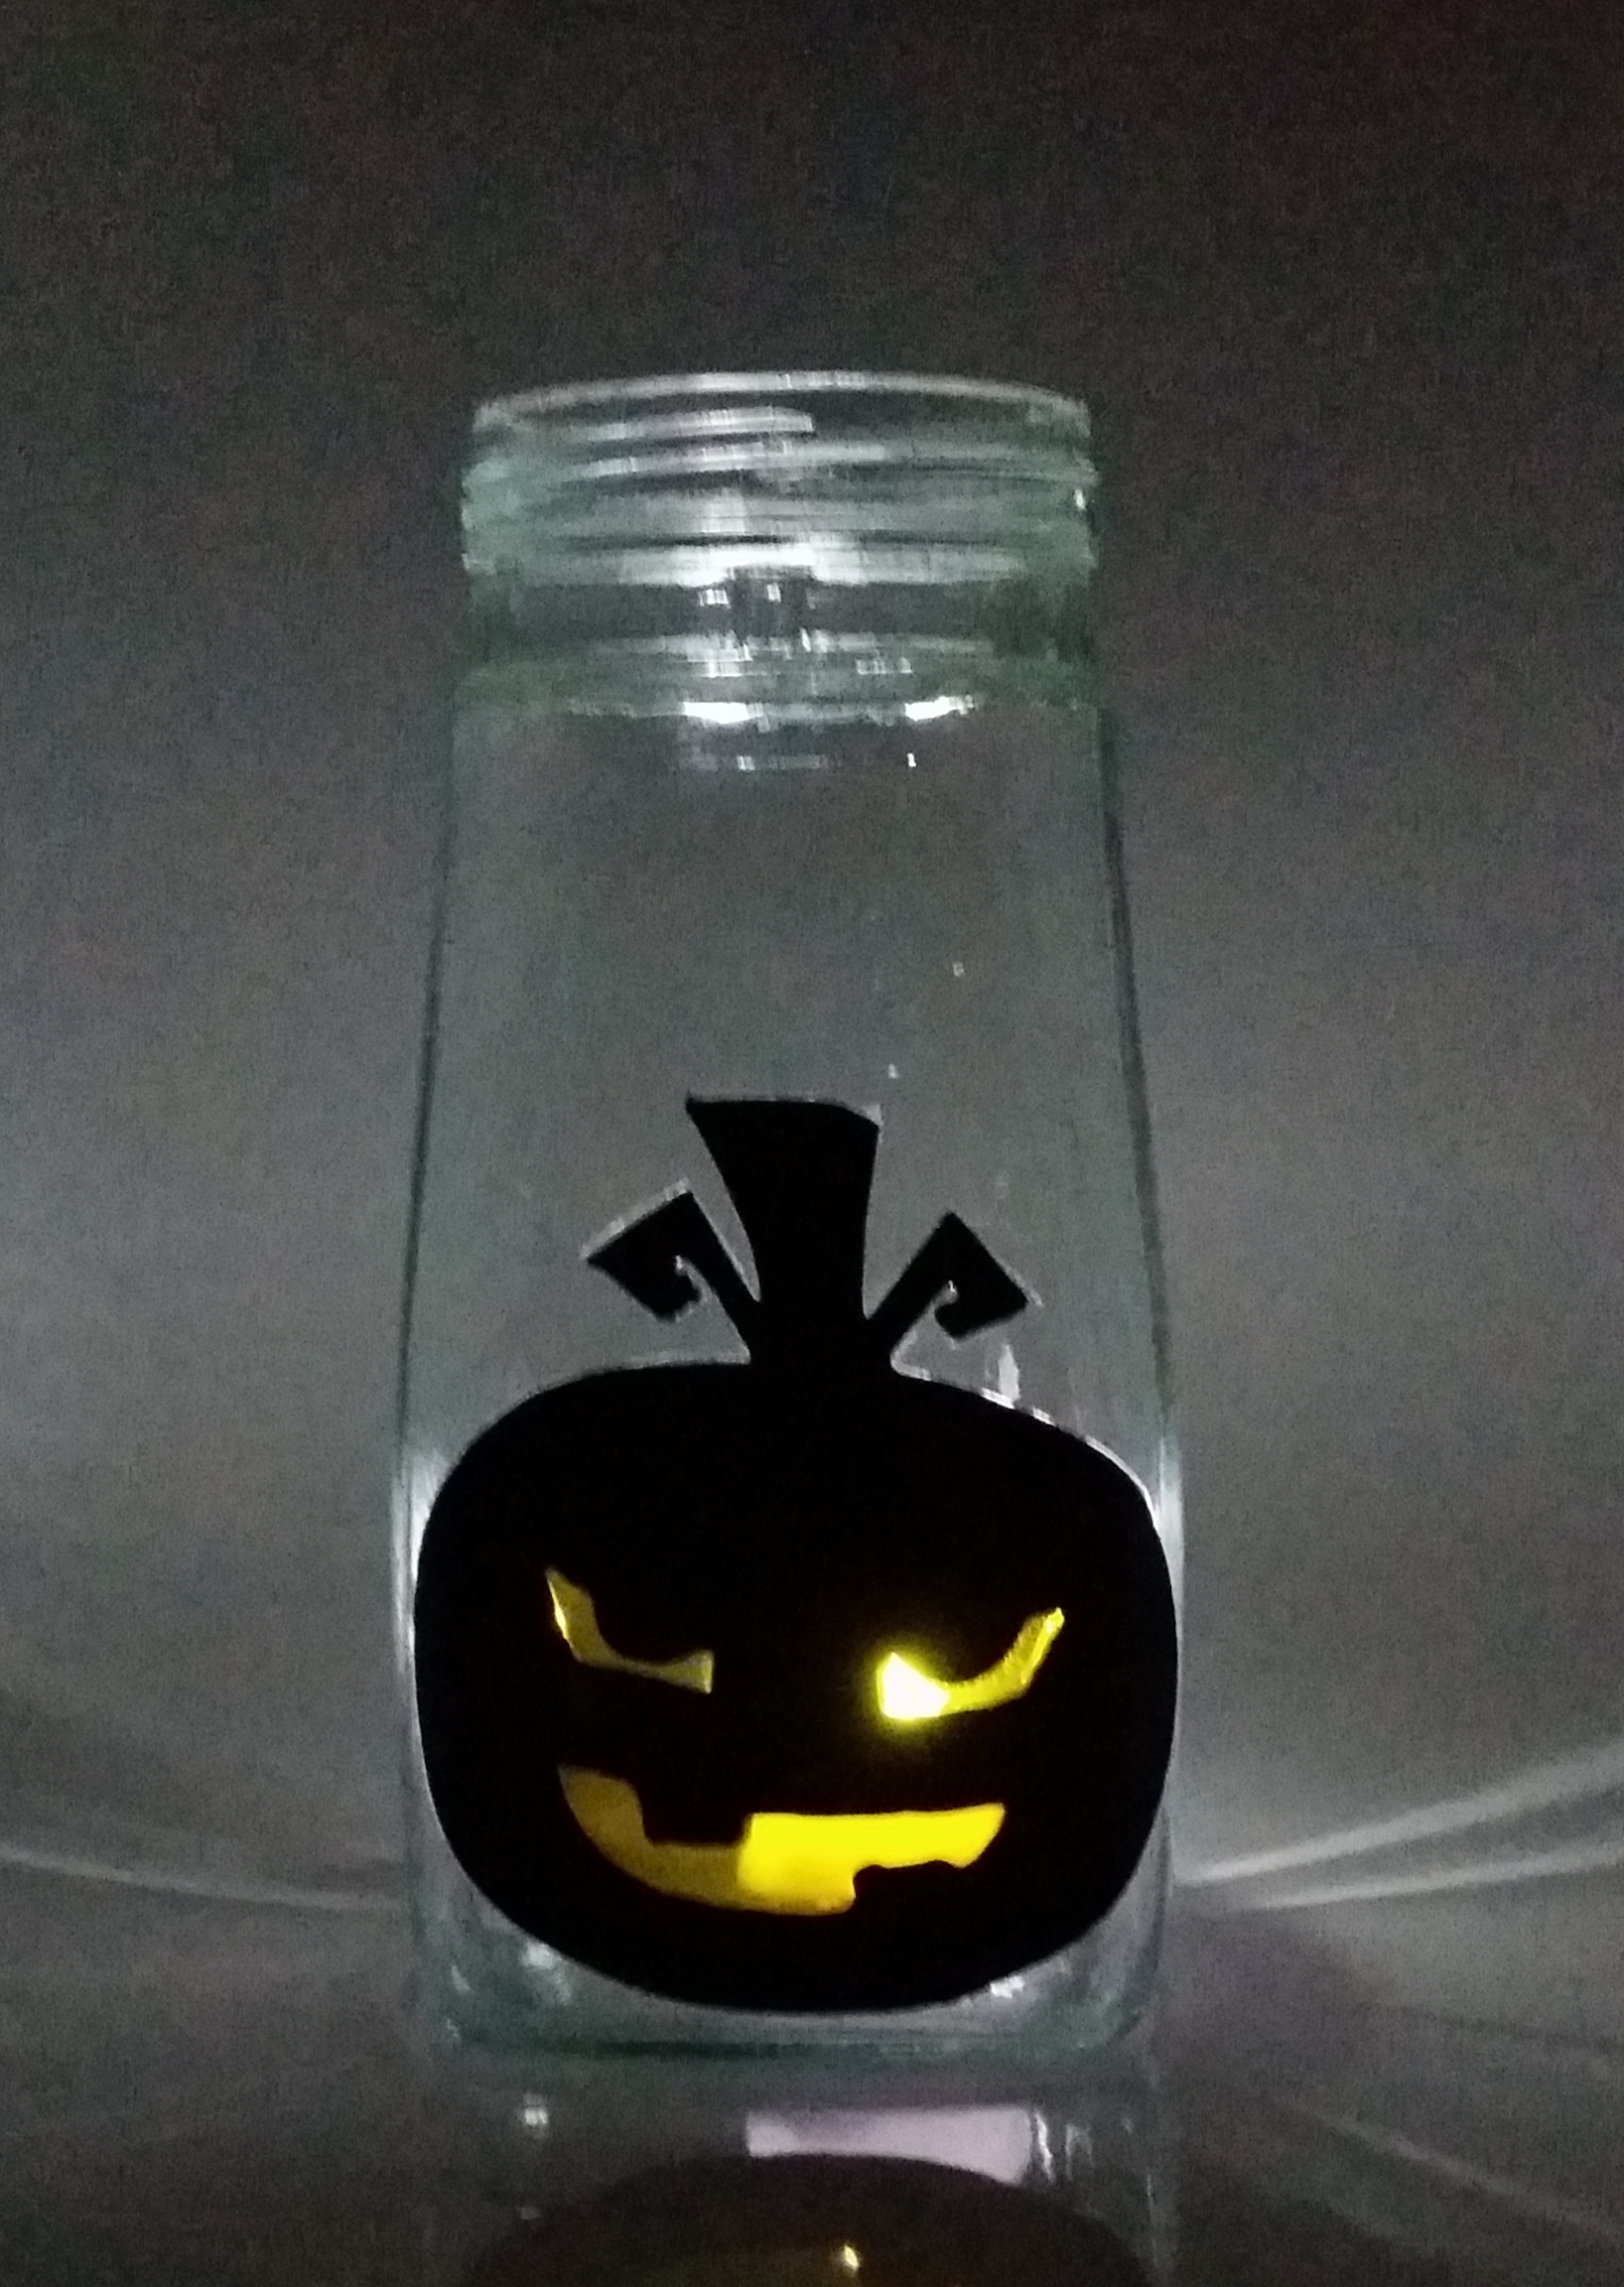
Glass Painted Jam Jars and Mason Jars. Technique 2.
This is very similar to technique 1 apart from the fact we worked on self adhesive glass painting film rather than acetate. This make the technique much simpler. (I know glass painting film is quite difficult to get hold of now-a-days but if you are in the UK we do have some for sale on the site). In this example we’ve painted a pumpkin, mostly in black paint. Obviously the light doesn’t come through the black paint so gives a great “negative light” image when a night-light is placed behind it.

Glass Painted Jam Jars and Mason Jars. Technique 3.
This is my favorite of the 3 techniques. Once again we worked on acetate. We measured round the jar using a piece of string and ensured our design was just over-sized (but also made sure there were no important parts of the design in or near the overlap). When the main piece was finished and cut out we used 9mm self adhesive lead strip to fix it to the jar. We put one piece down the join and another down the oposite side for balance. We then ran pieces around the top and bottom ensuring it was partly on our design and partly on the glass. This was then all smoothed down and any “spare” bits cut off with a craft knofe.
This is a very effective method, give a lovely finished item and can be used with just about any design.
We hope you enjoy this glass painted jam jar and mason jar project. We’re sure you will find way of adapting the techniques to your own design requirement and ideas.
You can download the designs used in these techniques HERE.