by
by 
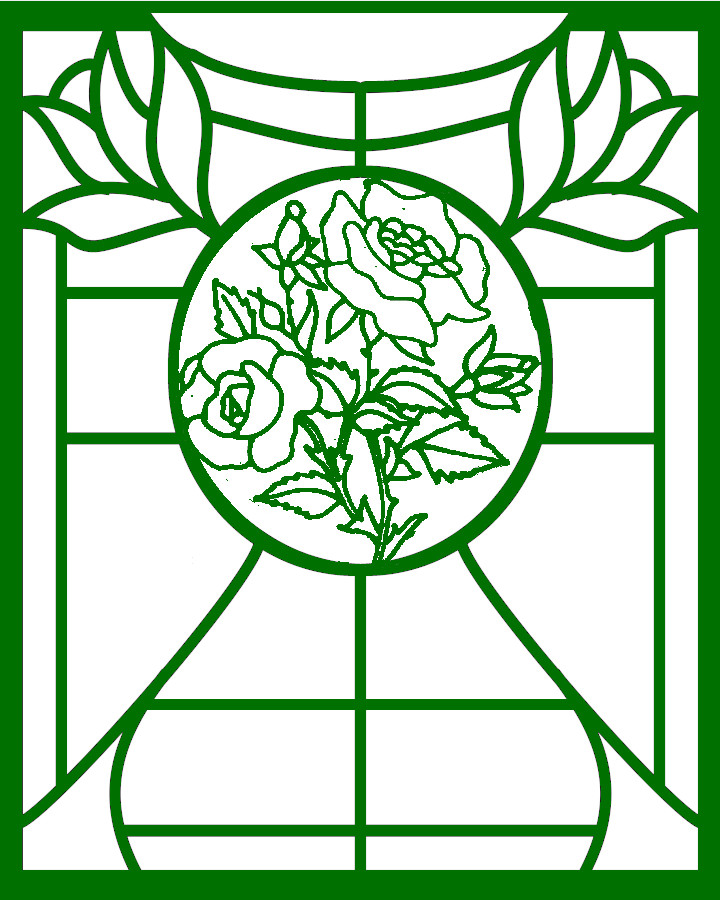
Bit of a different article for us but the first in a small series on both creating glass painting designs in GIMP and altering existing designs. I did do a really short video a few months ago on resizing images in GIMP. That lead to a lot of emails and questions, hence this short series.
If you haven’t come across GIMP before it’s a very powerful, and free, image and photo editor. It isn’t the easiest program to use but as long as you concentration on the bit of it you need it shouldn’t be too daunting. It can do an awful lot more than just make designs for glass painting. Our logo was made with gimp, in fact all the graphics work on our website was done in GIMP as well. So these articles will show you how to use it for designs but you may also like to look into it’s capabilities for photo editing etc. as well.
Creating Glass Painting designs with GIMP.
[N.B. If you are using Linux you may be able to avoid the following two steps as GIMP can usually be found in the software repository].
Where to get GIMP.
GIMP can be downloaded for free off the official GIMP website. In fact we recommend you ONLY download it from the official site. We know the copy they provide is completely “clean”, there are no adverts, spyware or spamware.
The program is available for Windows, Linus and OS X. It’s also available in a number of different languages.

Installing and setting up.
Once you have downloaded the program you will need to find it (normally in the downloads folder on a Windows PC) and double click on it to set it up. This may work slightly differently in OS X and Linux but I assume if you are using those systems you will know how to do it.
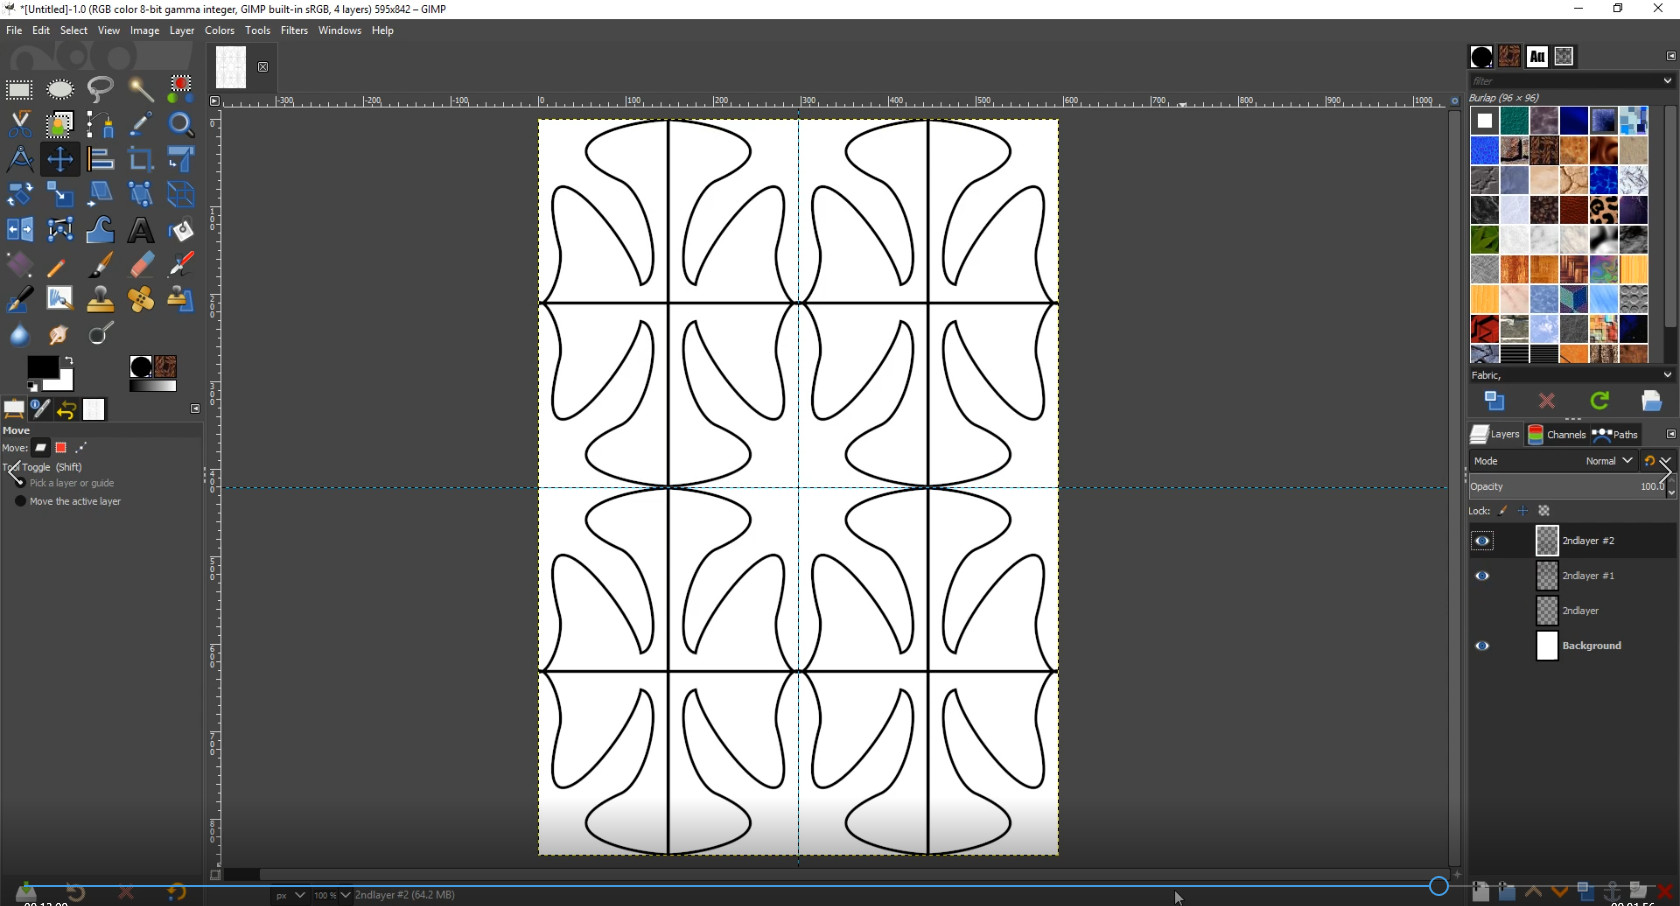
When you first open up GIMP it may look a bit strange, like 3 separate windows on your desktop. if you don’t like this (some people do, some don’t) then just go to “Window” tab at the top of the program and select “Single Window Mode”.
You will find LOTS of things you can change in “Edit / Preferences” however that is something you might want to save until you know the program a little better. For now I would recommend taking a look at “Themes” and “Icon Sets”. Both can be easily changed to ones you like.

Opening a New Image.
Opening a new (blank) image is pretty straight forward. Go to “File / New…”. You can now chose whatever size you want or one of the pre-made templates. The drop down box on the right will let you chose what measurement scale you use. Whatever size you chose I suggest you use resolution of “72” (This is in the “Advanced Options” section of the “new image window). The higher resolutions such as “300” are mainly for things such as photographs. As we are just doing simple designs then 73 should be fine.
Once you have the size you want just click “OK”.

Colour and first lines.
You will see the colour pallet on the left hand side. There are two colours. The top one is the colour which your tool (paint brush, pencil etc.) will use. The lower one is the background colour. This is what will show when you do any rubbing out or deleting. To change either colour just click on it and the colour pallet will appear.
For now we will leave the colour as black.

Next chose the pencil from the tools pallet (top right). As you chose it you will notice the set of options on the lower right change. They always relate to the tool you have chosen. For now just use the “size” option to change the width of the pencil line.
Go over to you image, click and hold the left mouse button to draw. Also try clicking then holding the mouse button down. Move the mouse and then click again. This will enable you to draw a line. It will continue to work for each click whist you keep the shift button down.
Guides.
Guides are really useful. The are thin blue lines which you use for working. They are never printed. Under the “View” tab you will see two options, “Show Guides” and “Snap to guides”. The second one means whenever you cursor is close to a guide it will snap to it.
To get a guide just click and hold on one of the ruler bars. Then drag across or down (depending on which ruler bar you have clicked in) and let go once the guide is in position. You can re position a guide line by grabbing it using the “Move Toll” from the tools pallet.
There are two basic options for saving an image.
“Save As”. This saves an image in GIMPs own format. The benefit of this is it saves all the information with the image. Guide lines, pallets, layers etc. will all be saved so the image, when opened again, will be just as you left it. Ready to continue work. The downside is it can only be opened and viewed with GIMP.
“Export As…” This option will save you image in a “normal” format. You can save it as a jpg, a png or lots of other formats (if you are unsure we suggest you use jpg). Images saved in formats such as jpg can be opened in just about any image viewer or editor. They can also be placed on the internet (on your blog, facebook pages etc.). Images saved like this can be opened in GIMP again but you will have lost any “extra” information such as layers, guidelines etc. It only saves the basic image.
Summery.
I think that is plenty to be getting on with. I usually find the best way to learn is to jump in and have a go. You can’t go far wrong. Just about everything you do can be undone by click “Ctrl+Z”. If you want to clear you entire sheet go go to “edit / clear”.
In the next video we will be looking at importing existing images and altering them so they can be part of our design.